
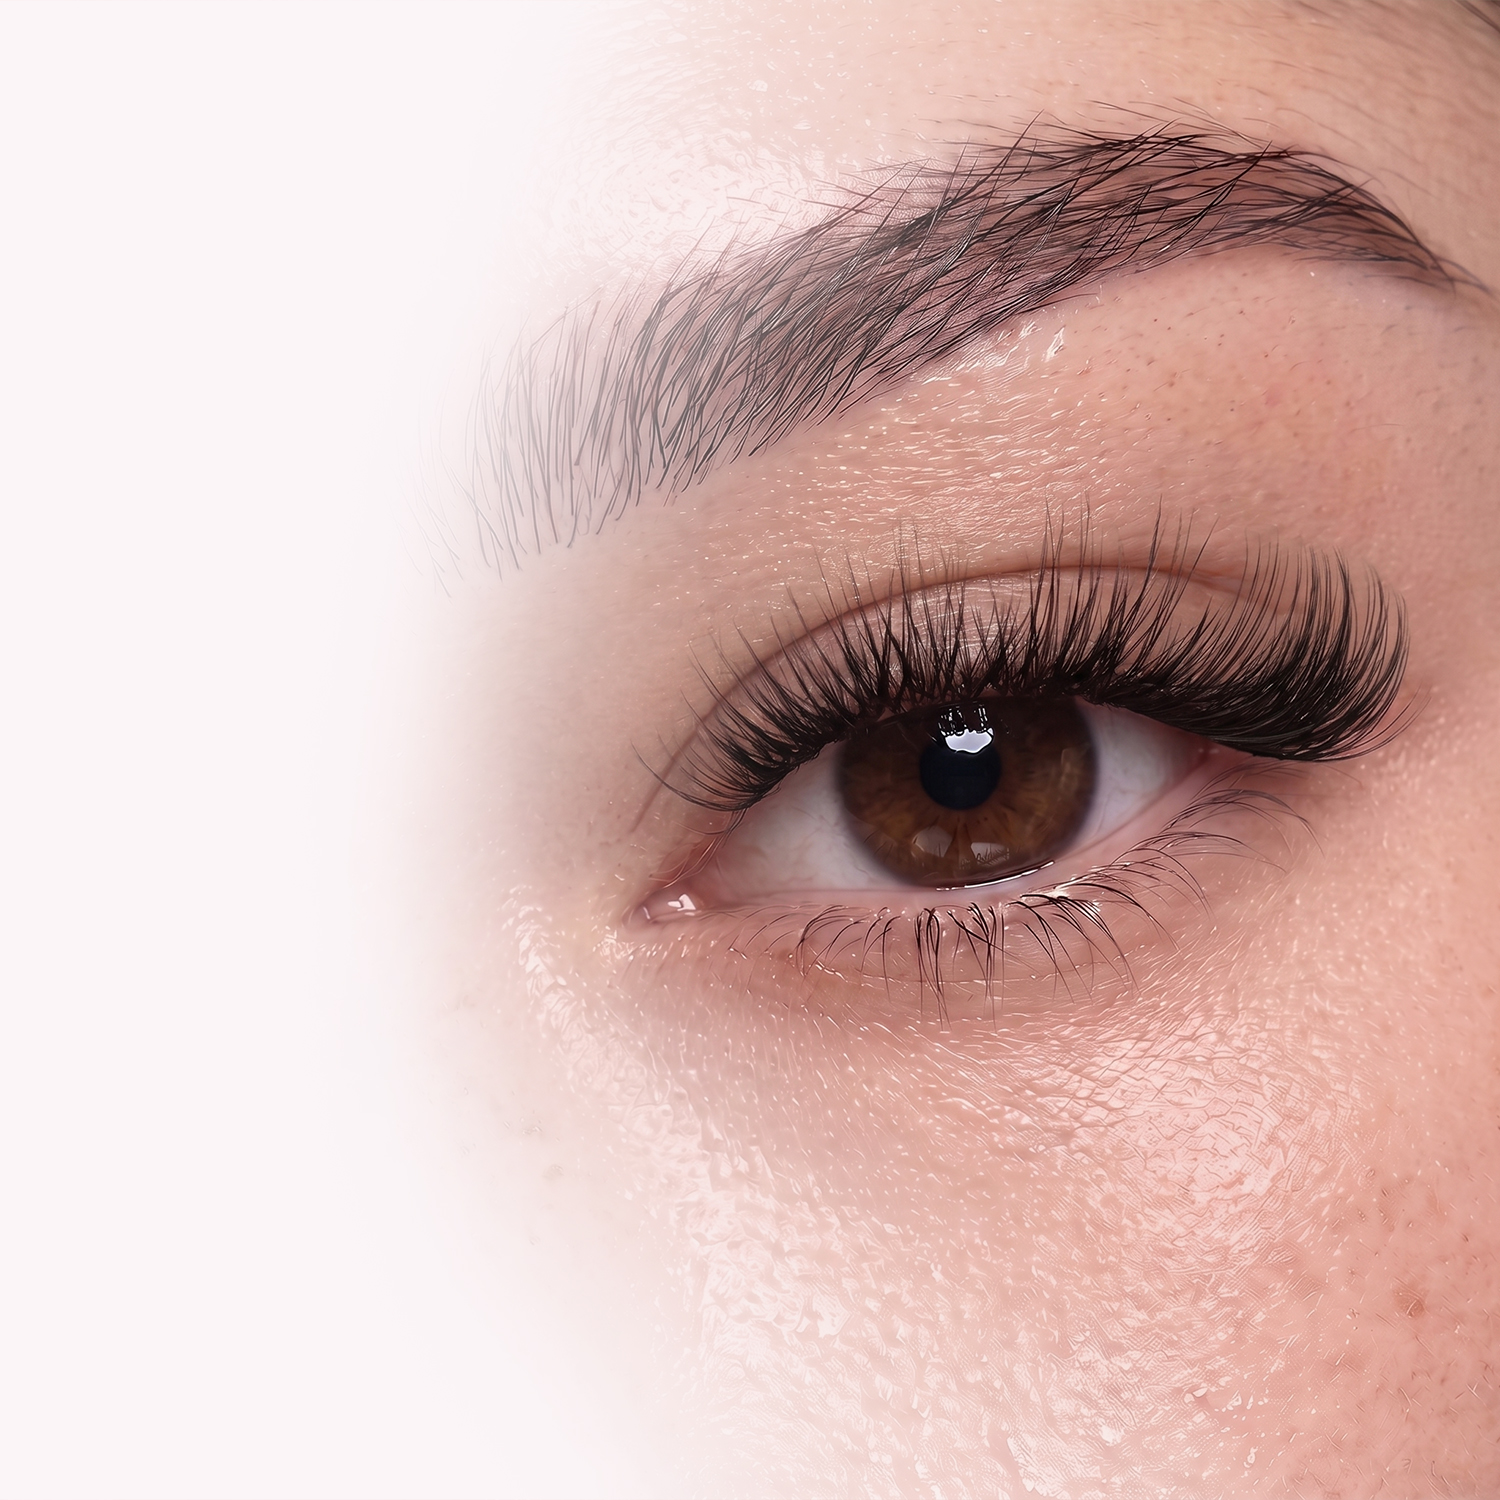


STEP 01
APPLY BOND
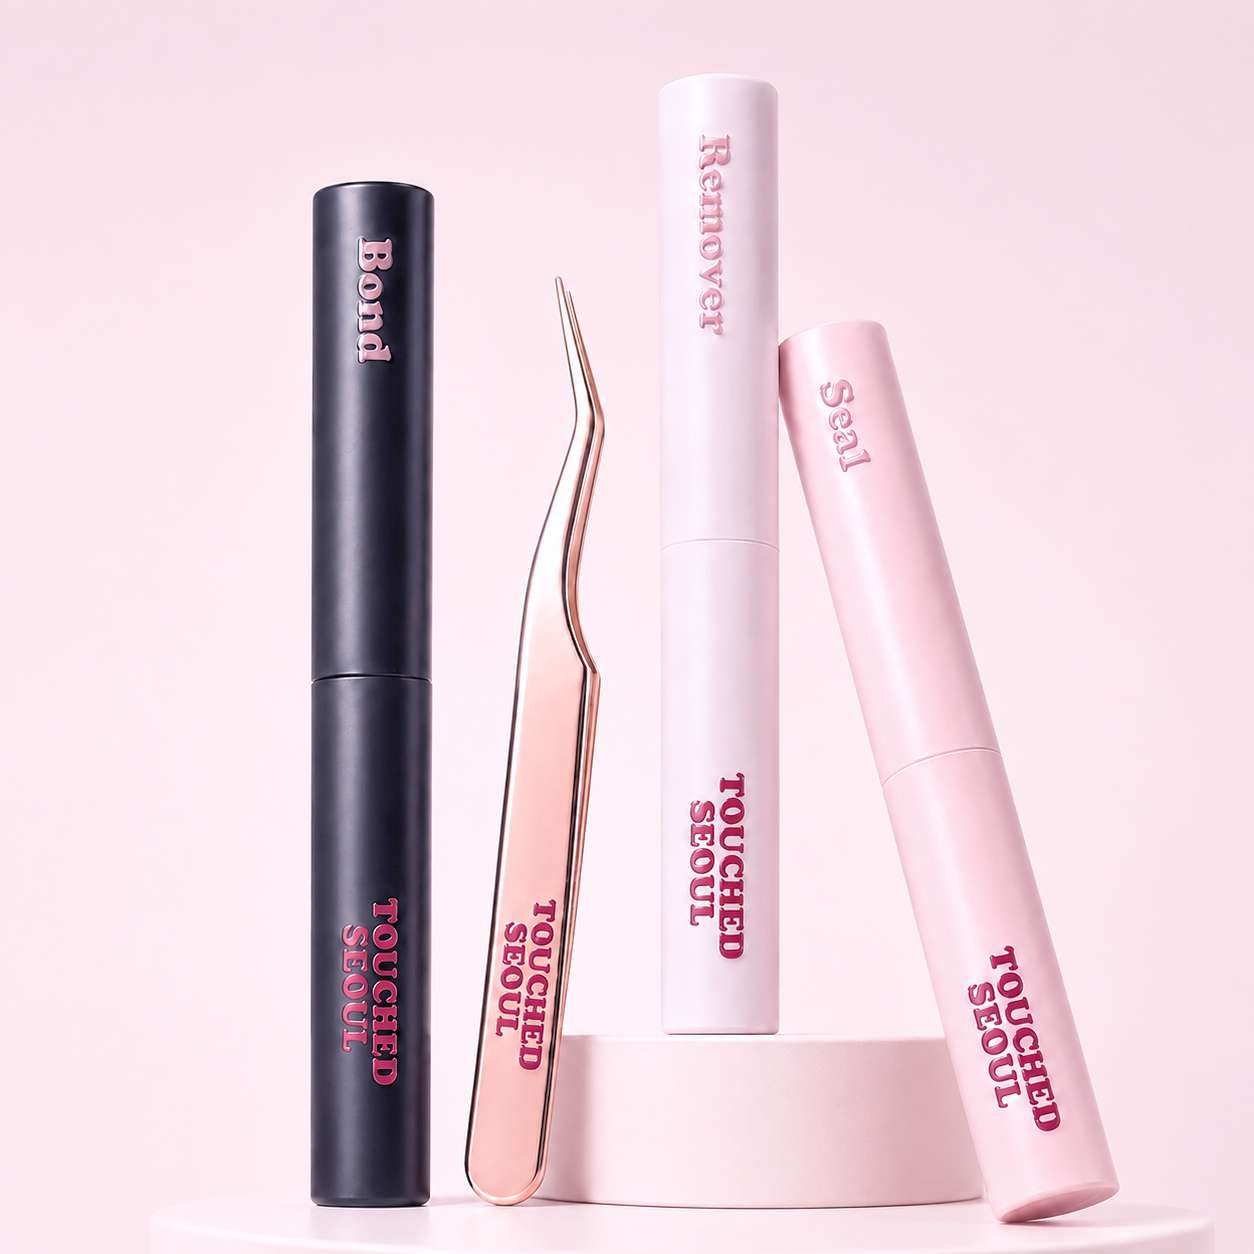
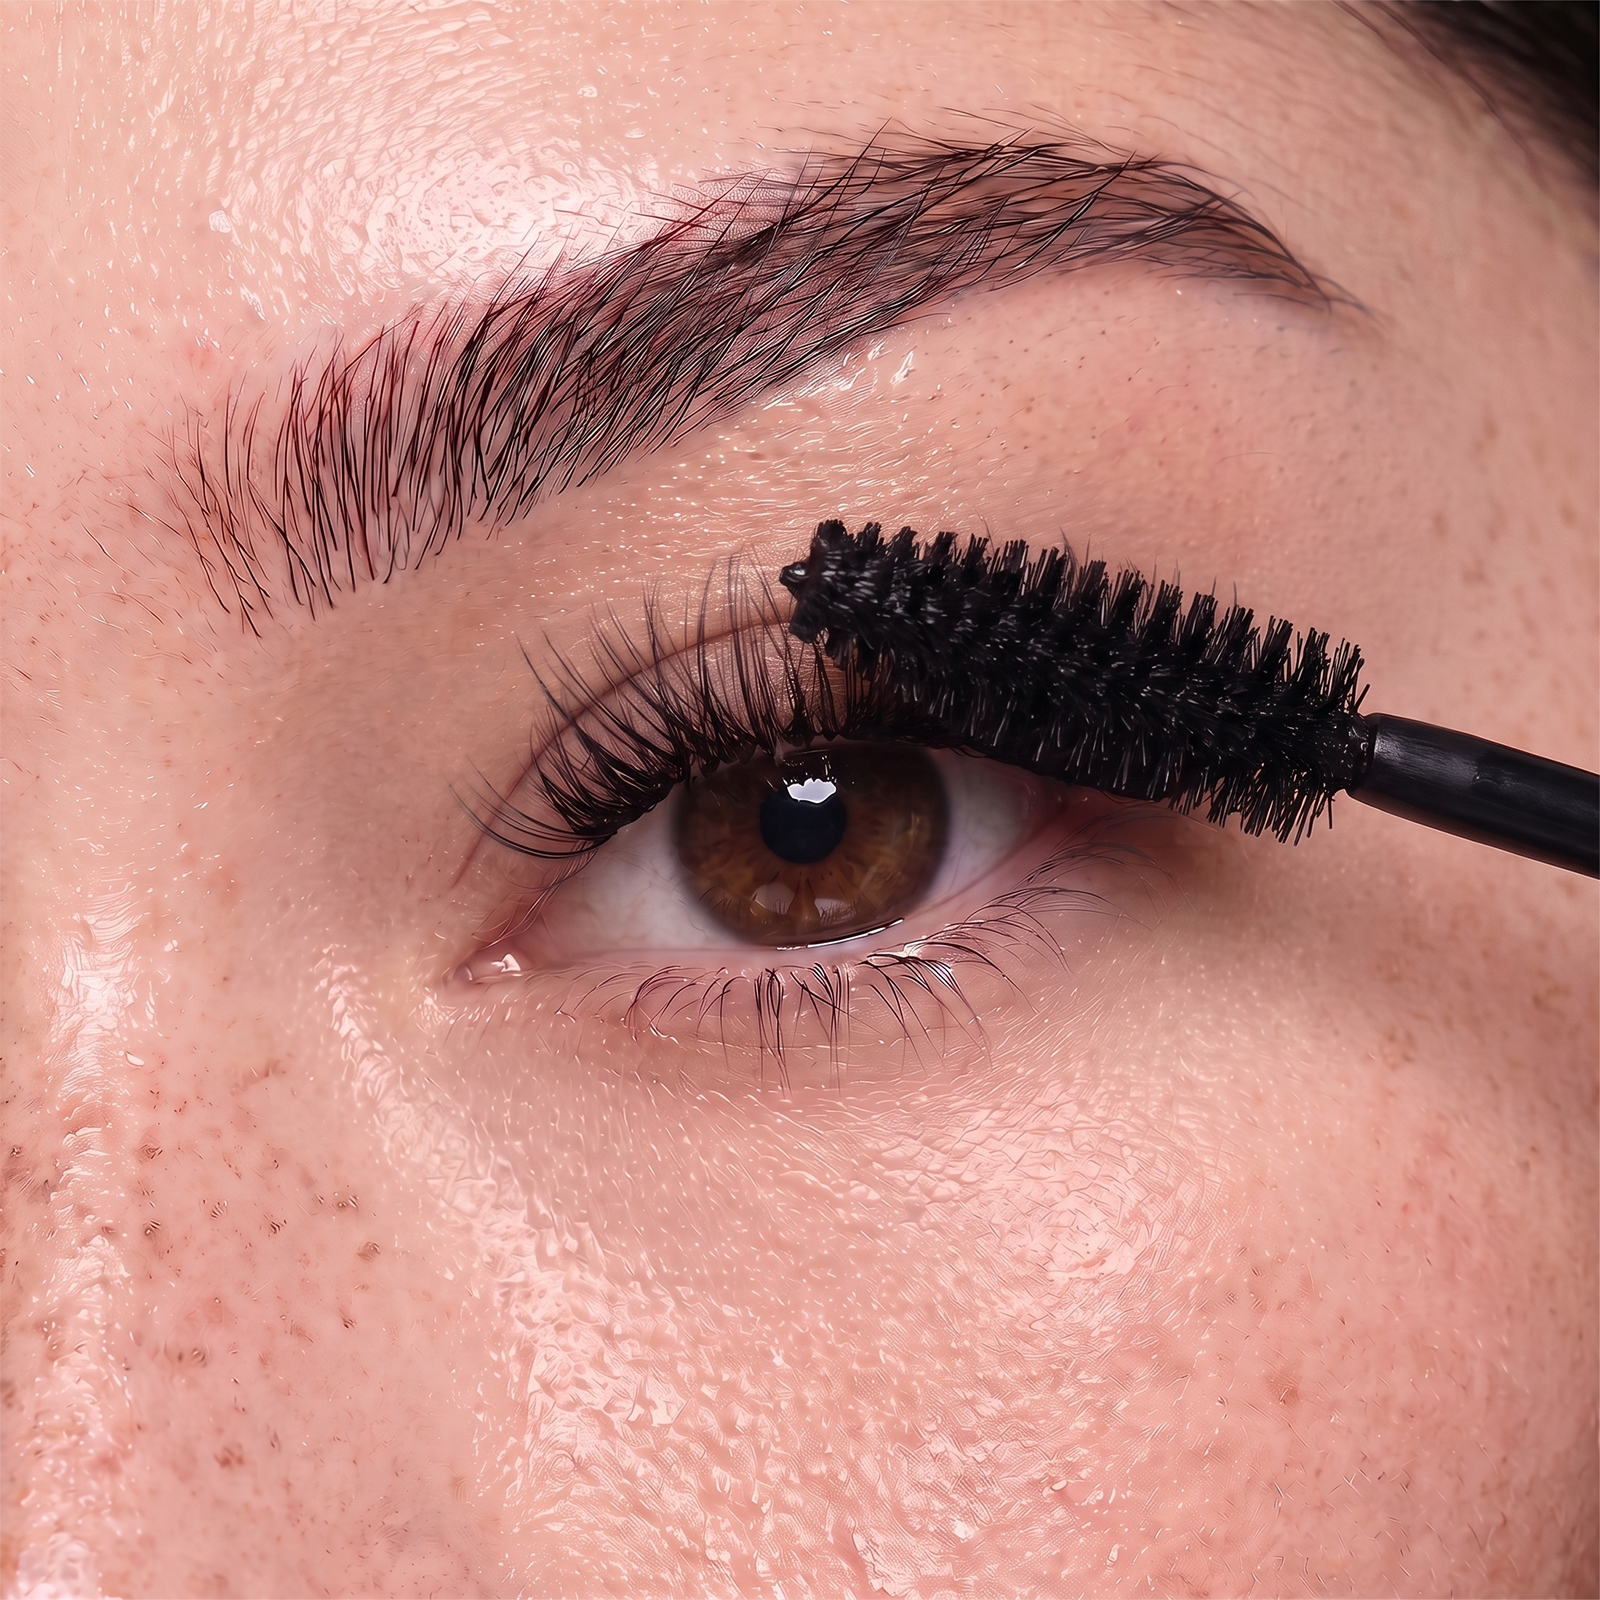
Start with clean, dry and oil-free lashes. Apply a thin, even layer of Bond close to the roots of your natural lashes and allow it to become slightly tacky before placement.
LASH HOME SYSTEM
A quick guide to applying, removing and caring for your lashes with ease.
Four simple steps to your seamless lash look.
STEP 01
Start with clean, dry and oil-free lashes. Apply a thin, even layer of Bond close to the roots of your natural lashes and allow it to become slightly tacky before placement.
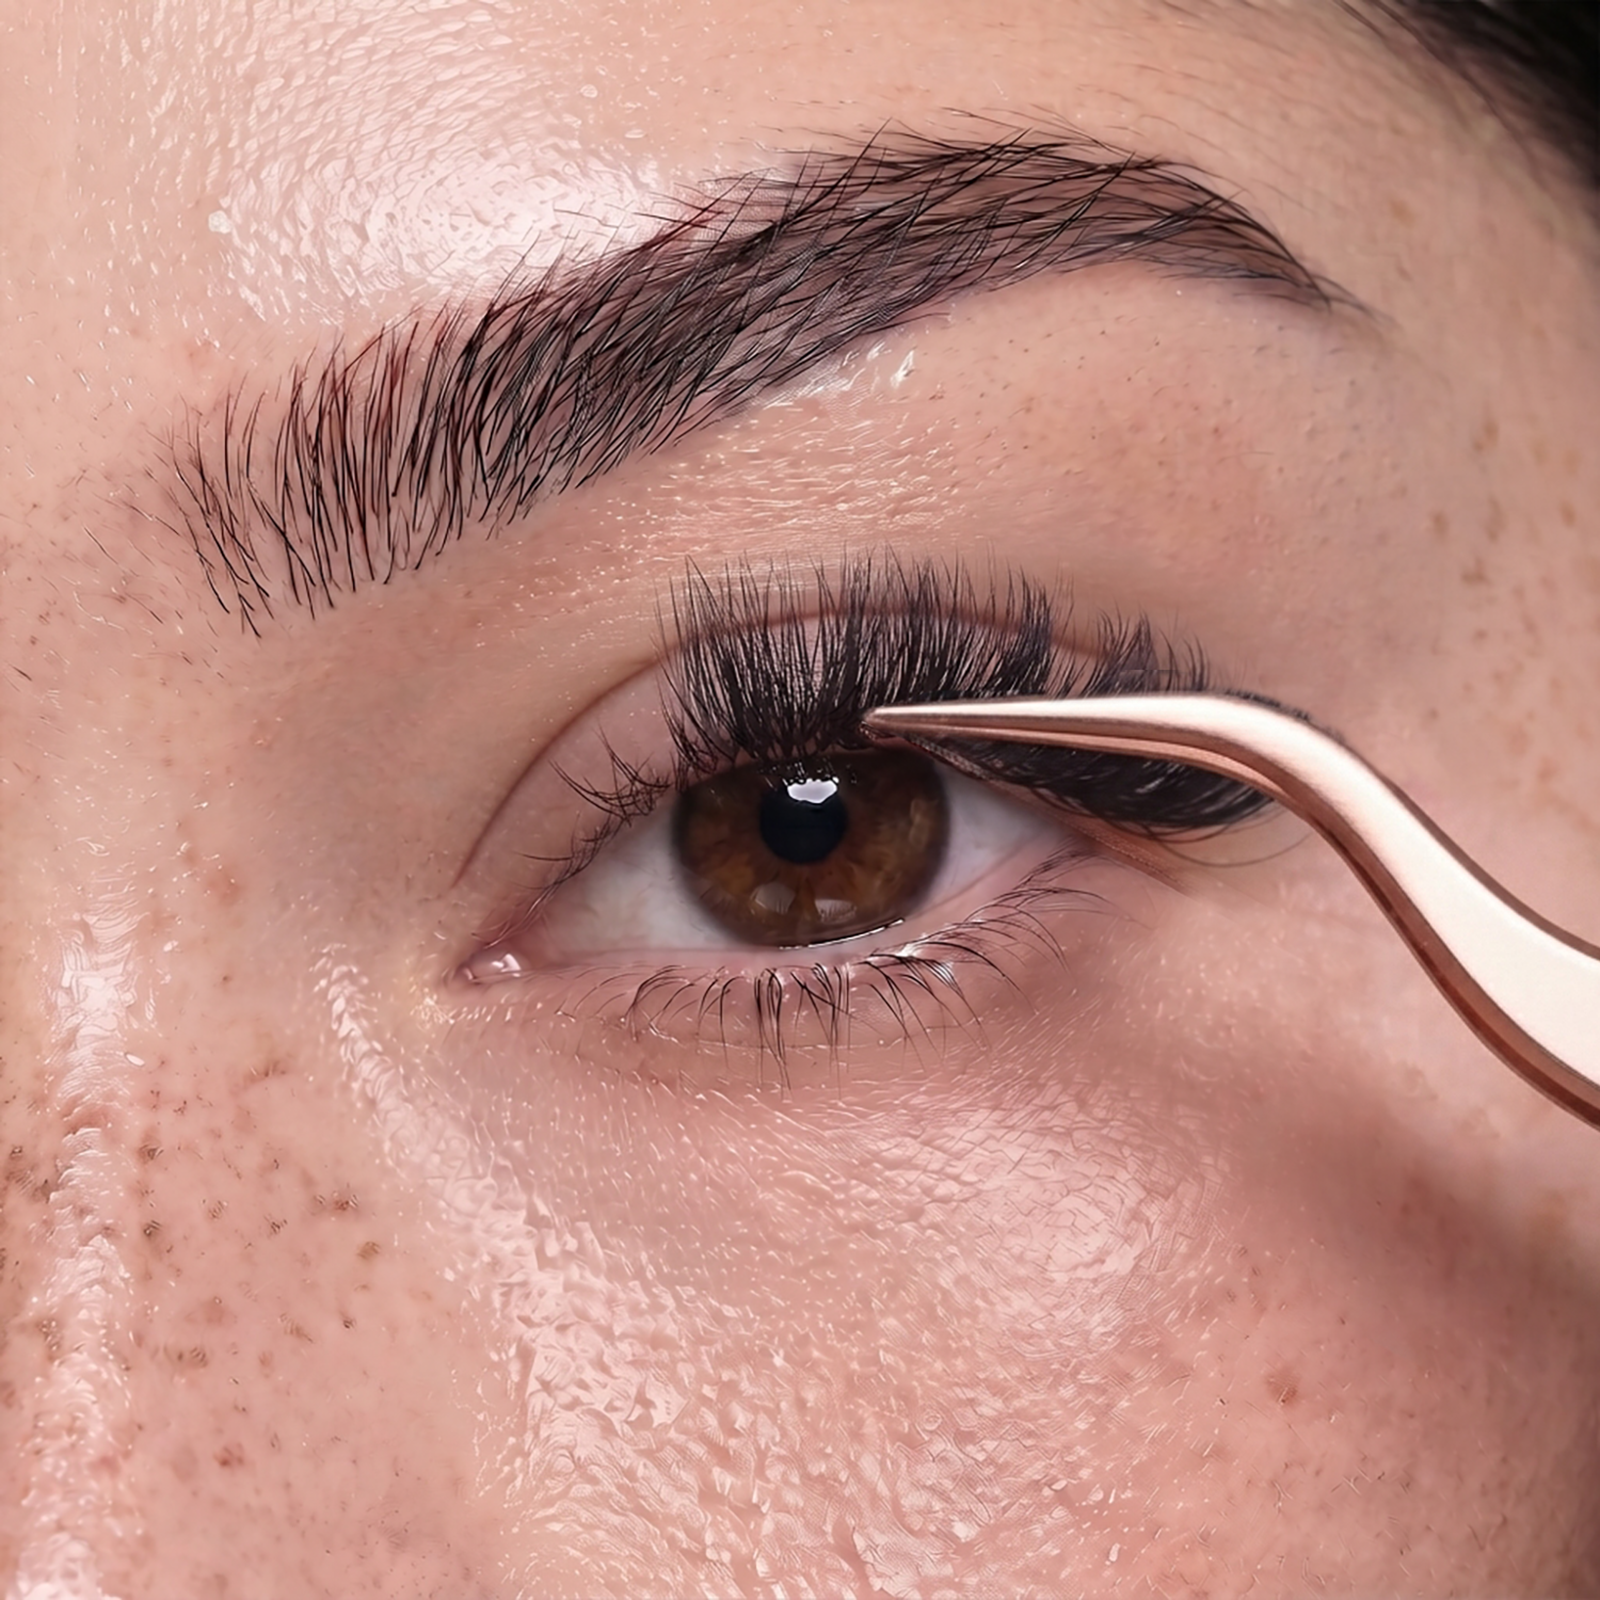
STEP 02
Using the Precision Applicator, gently place each cluster underneath your natural lashes, slightly above the waterline.
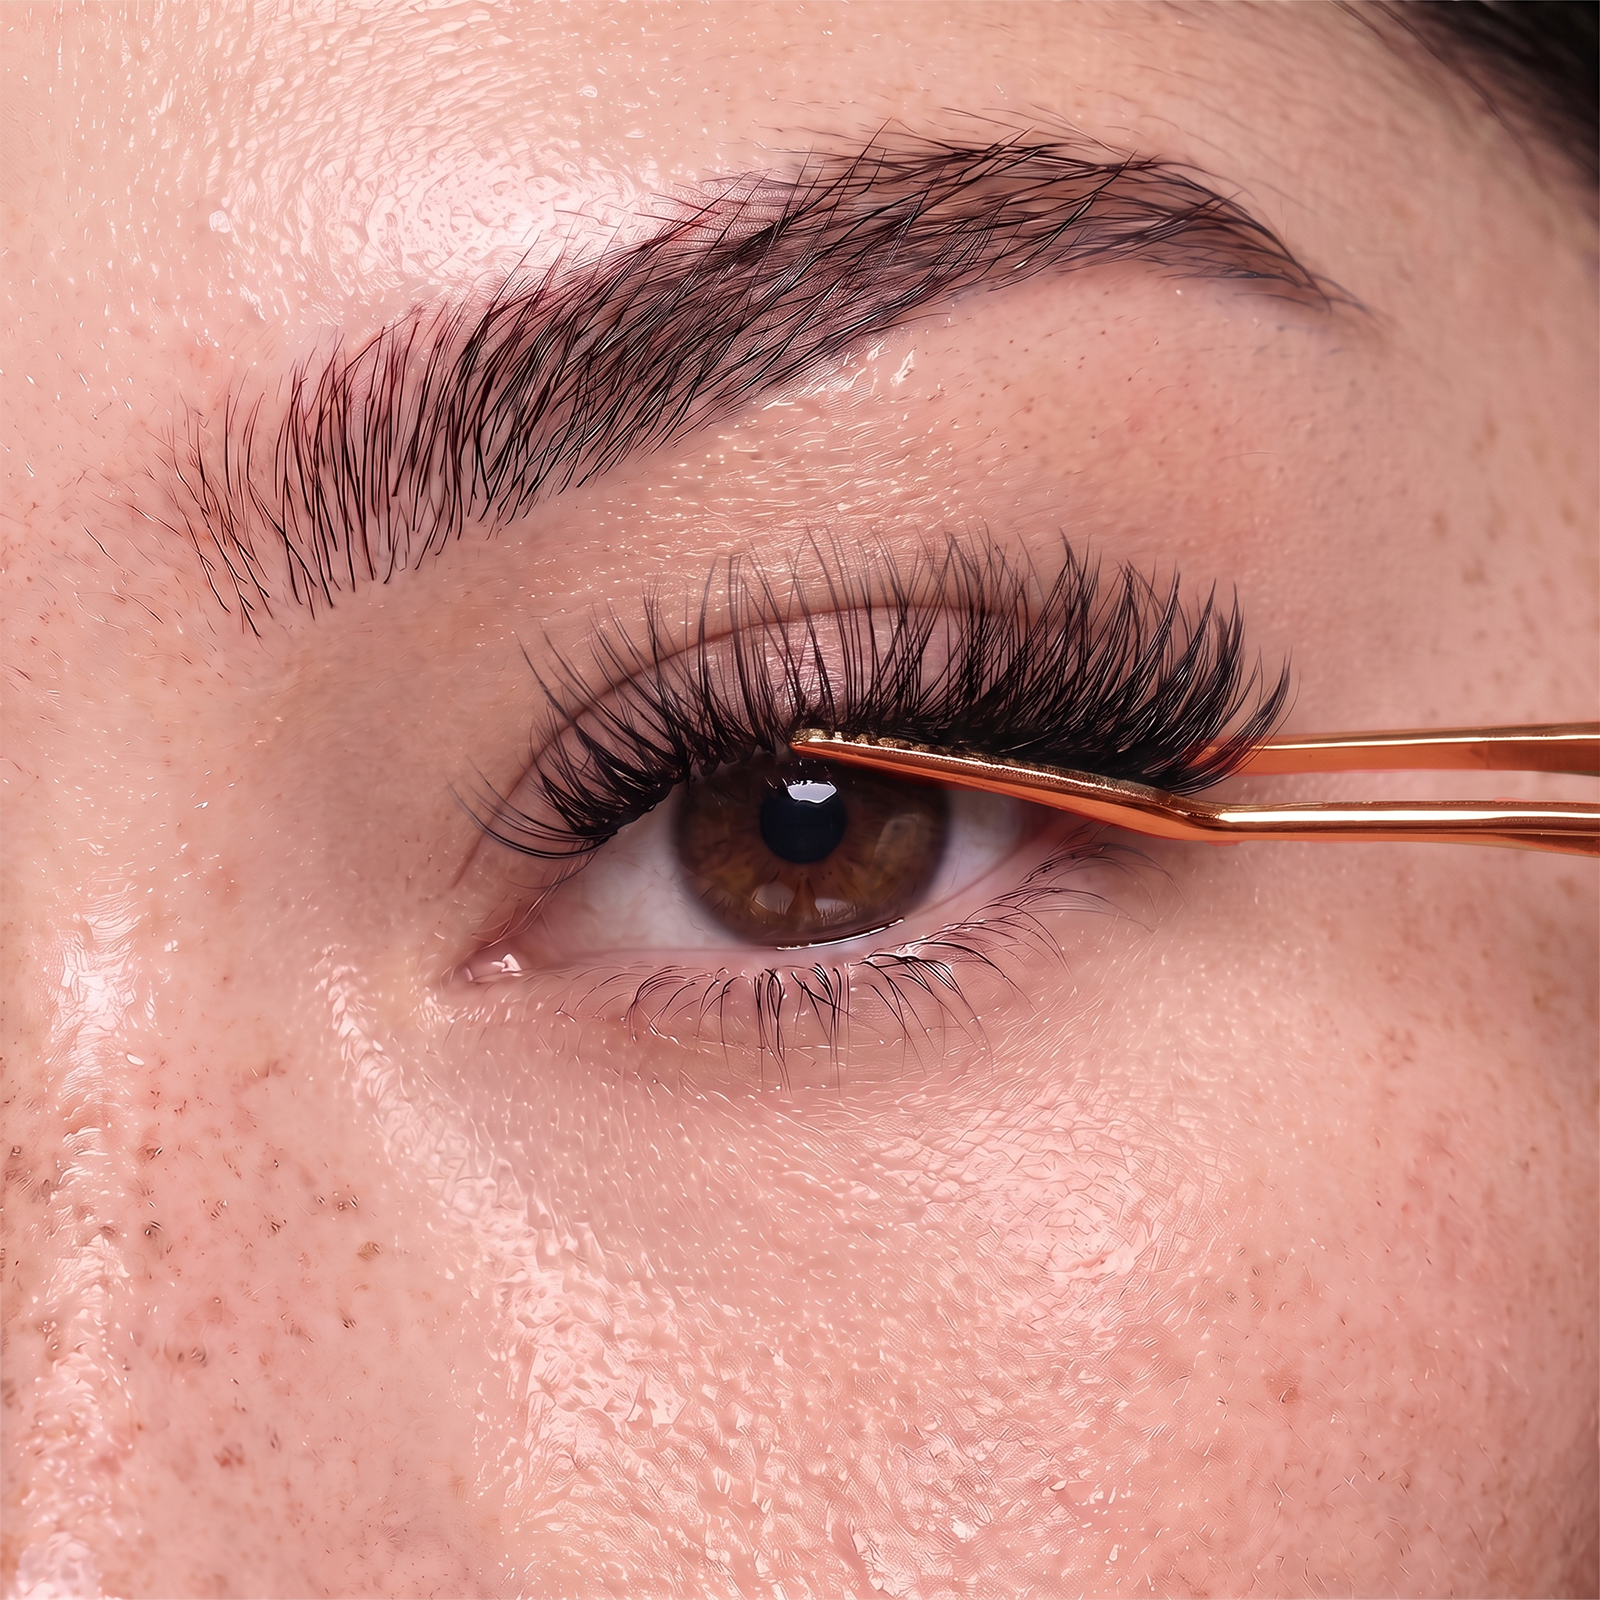
STEP 03
Once all clusters are in place, gently press your natural lashes and clusters together using the Fusing Applicator.
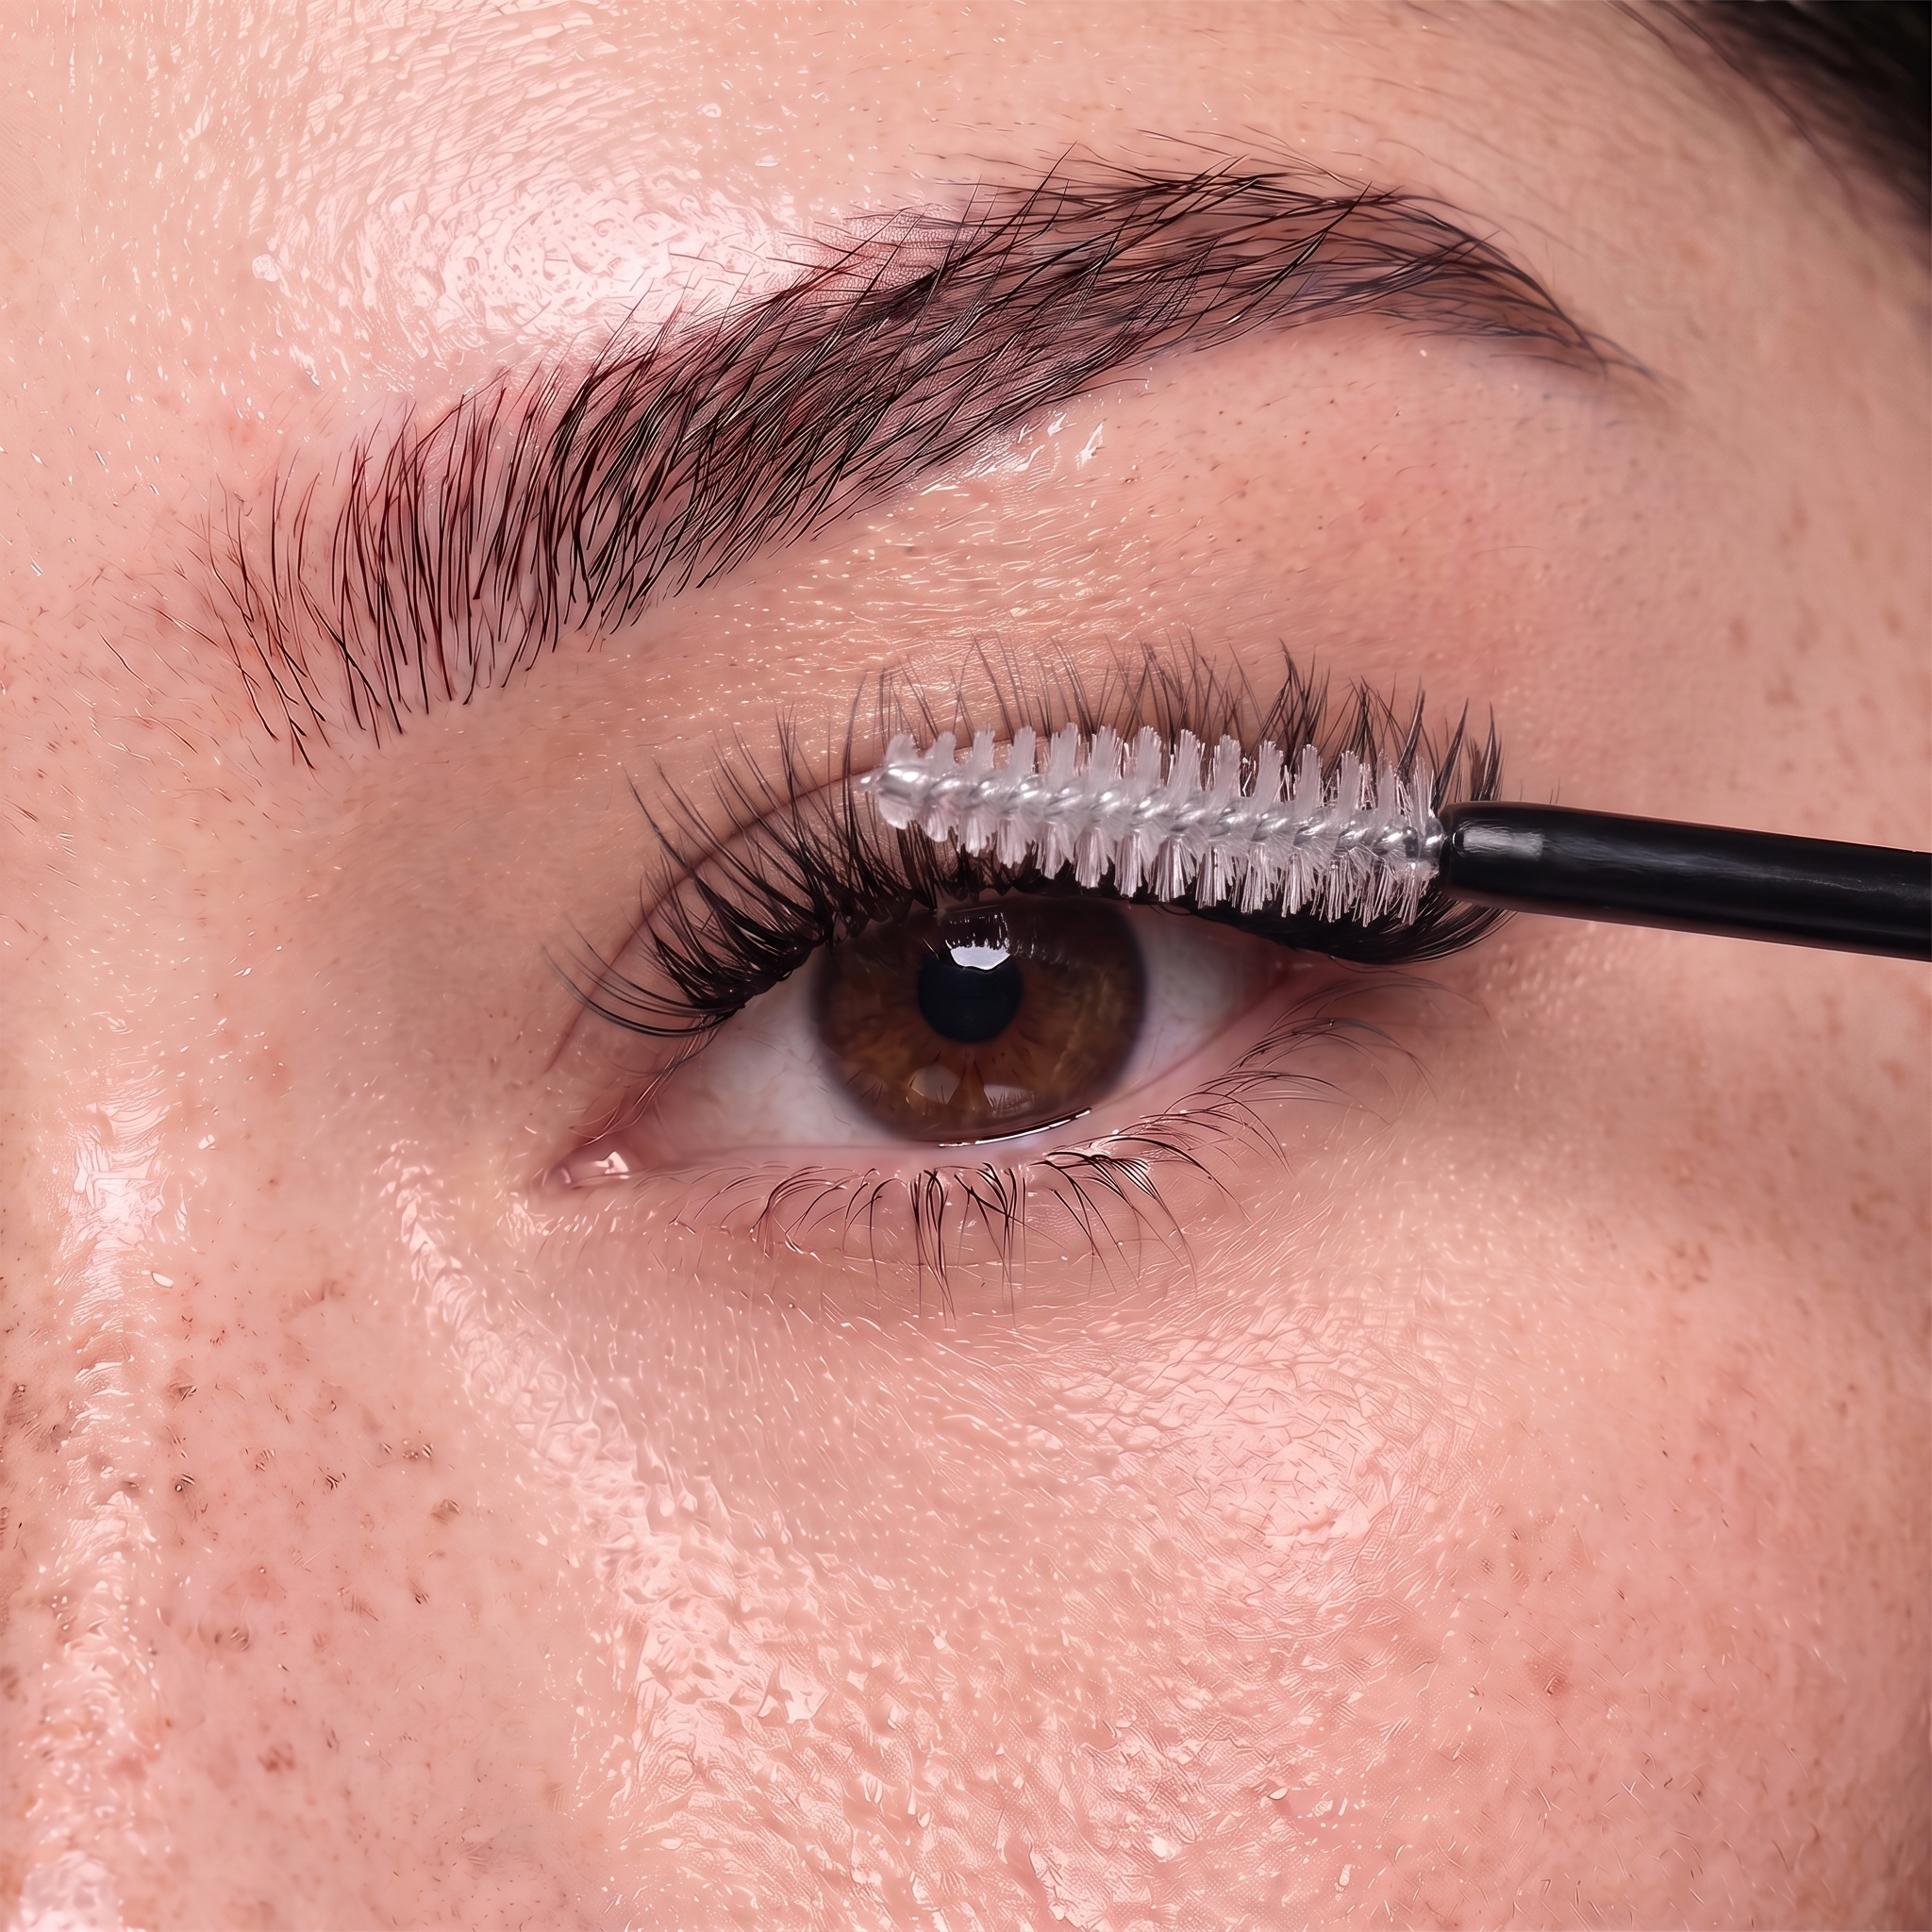
STEP 04
Apply a light layer of Seal around the bonded area to reduce residual tackiness and finish your lash look.
A LITTLE LASH SECRET
Start with completely clean, oil-free lashes and use a thin layer of Bond. Keep each cluster slightly away from the waterline and fuse gently once your look is complete.
Gentle removal starts here. Never pull.
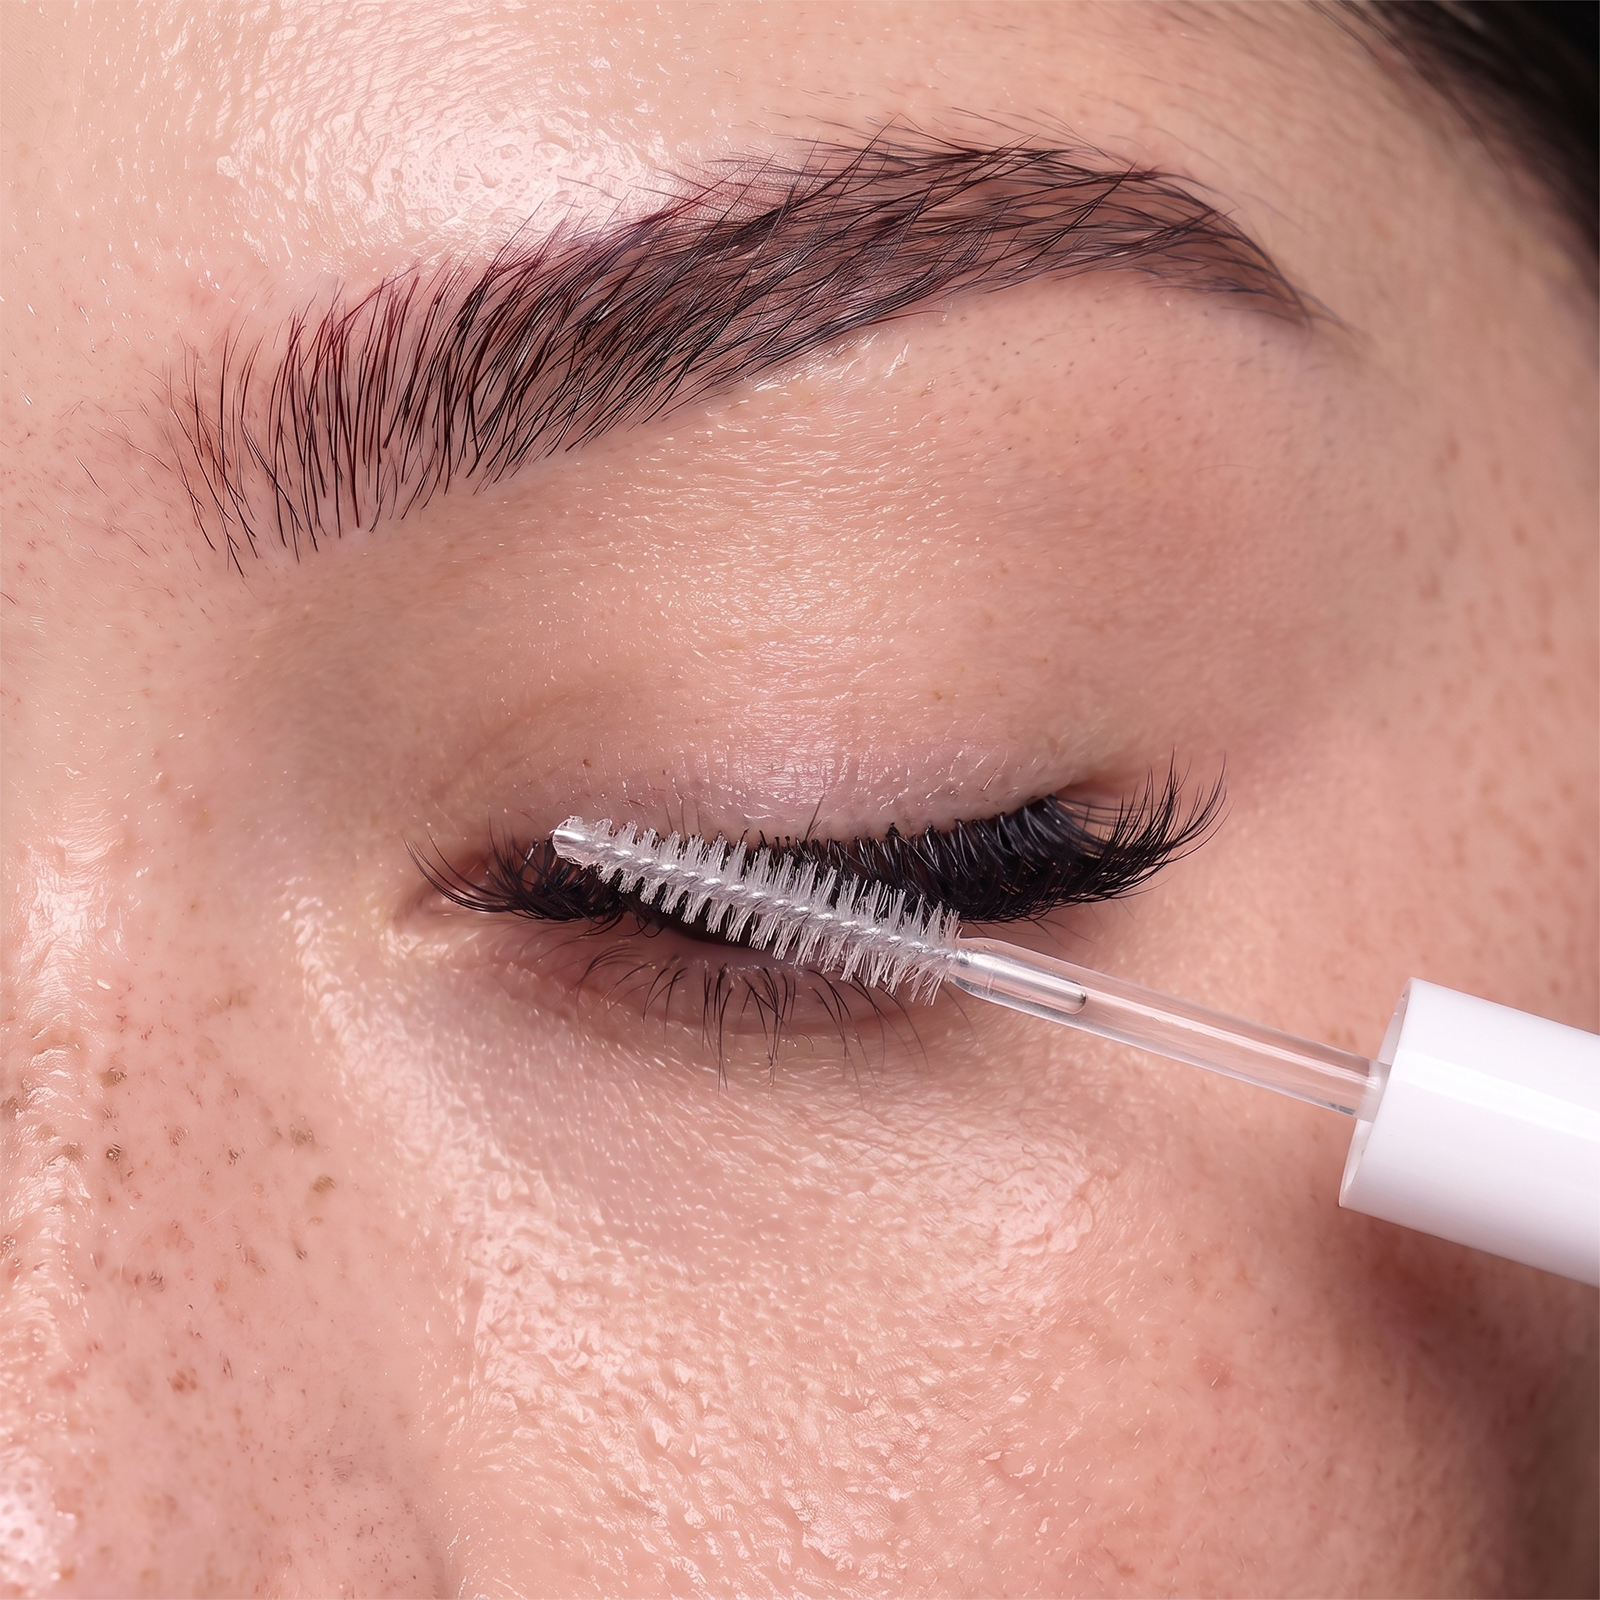
STEP 01
Coat the bonded area thoroughly with Remover and leave it on for 3–5 minutes. Begin removal only once the clusters feel loose and easy to move.
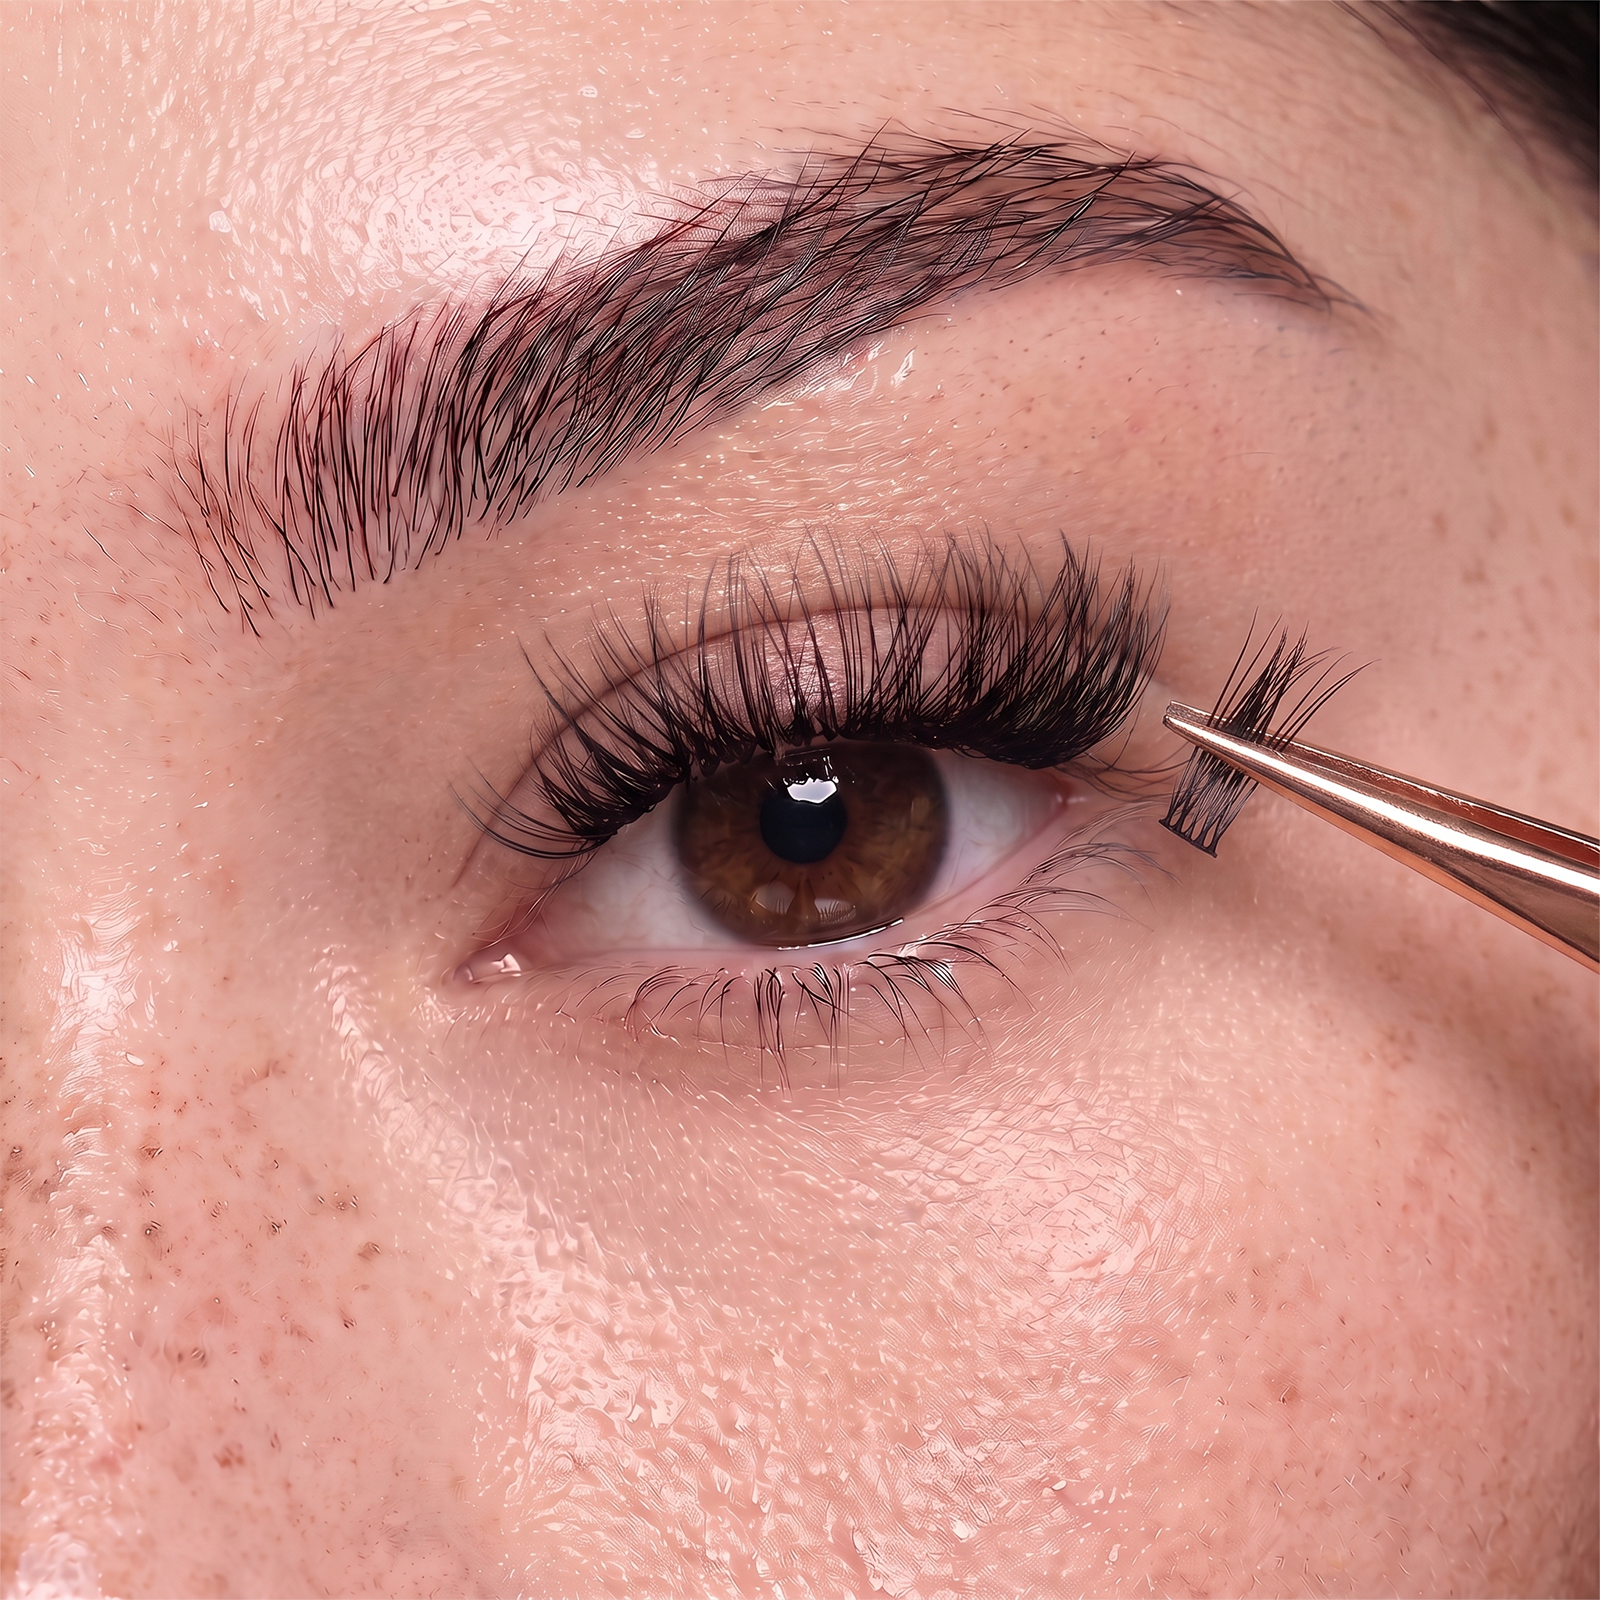
STEP 02
Once the Bond has softened, gently ease each cluster away. If you feel any resistance, stop rather than pulling.
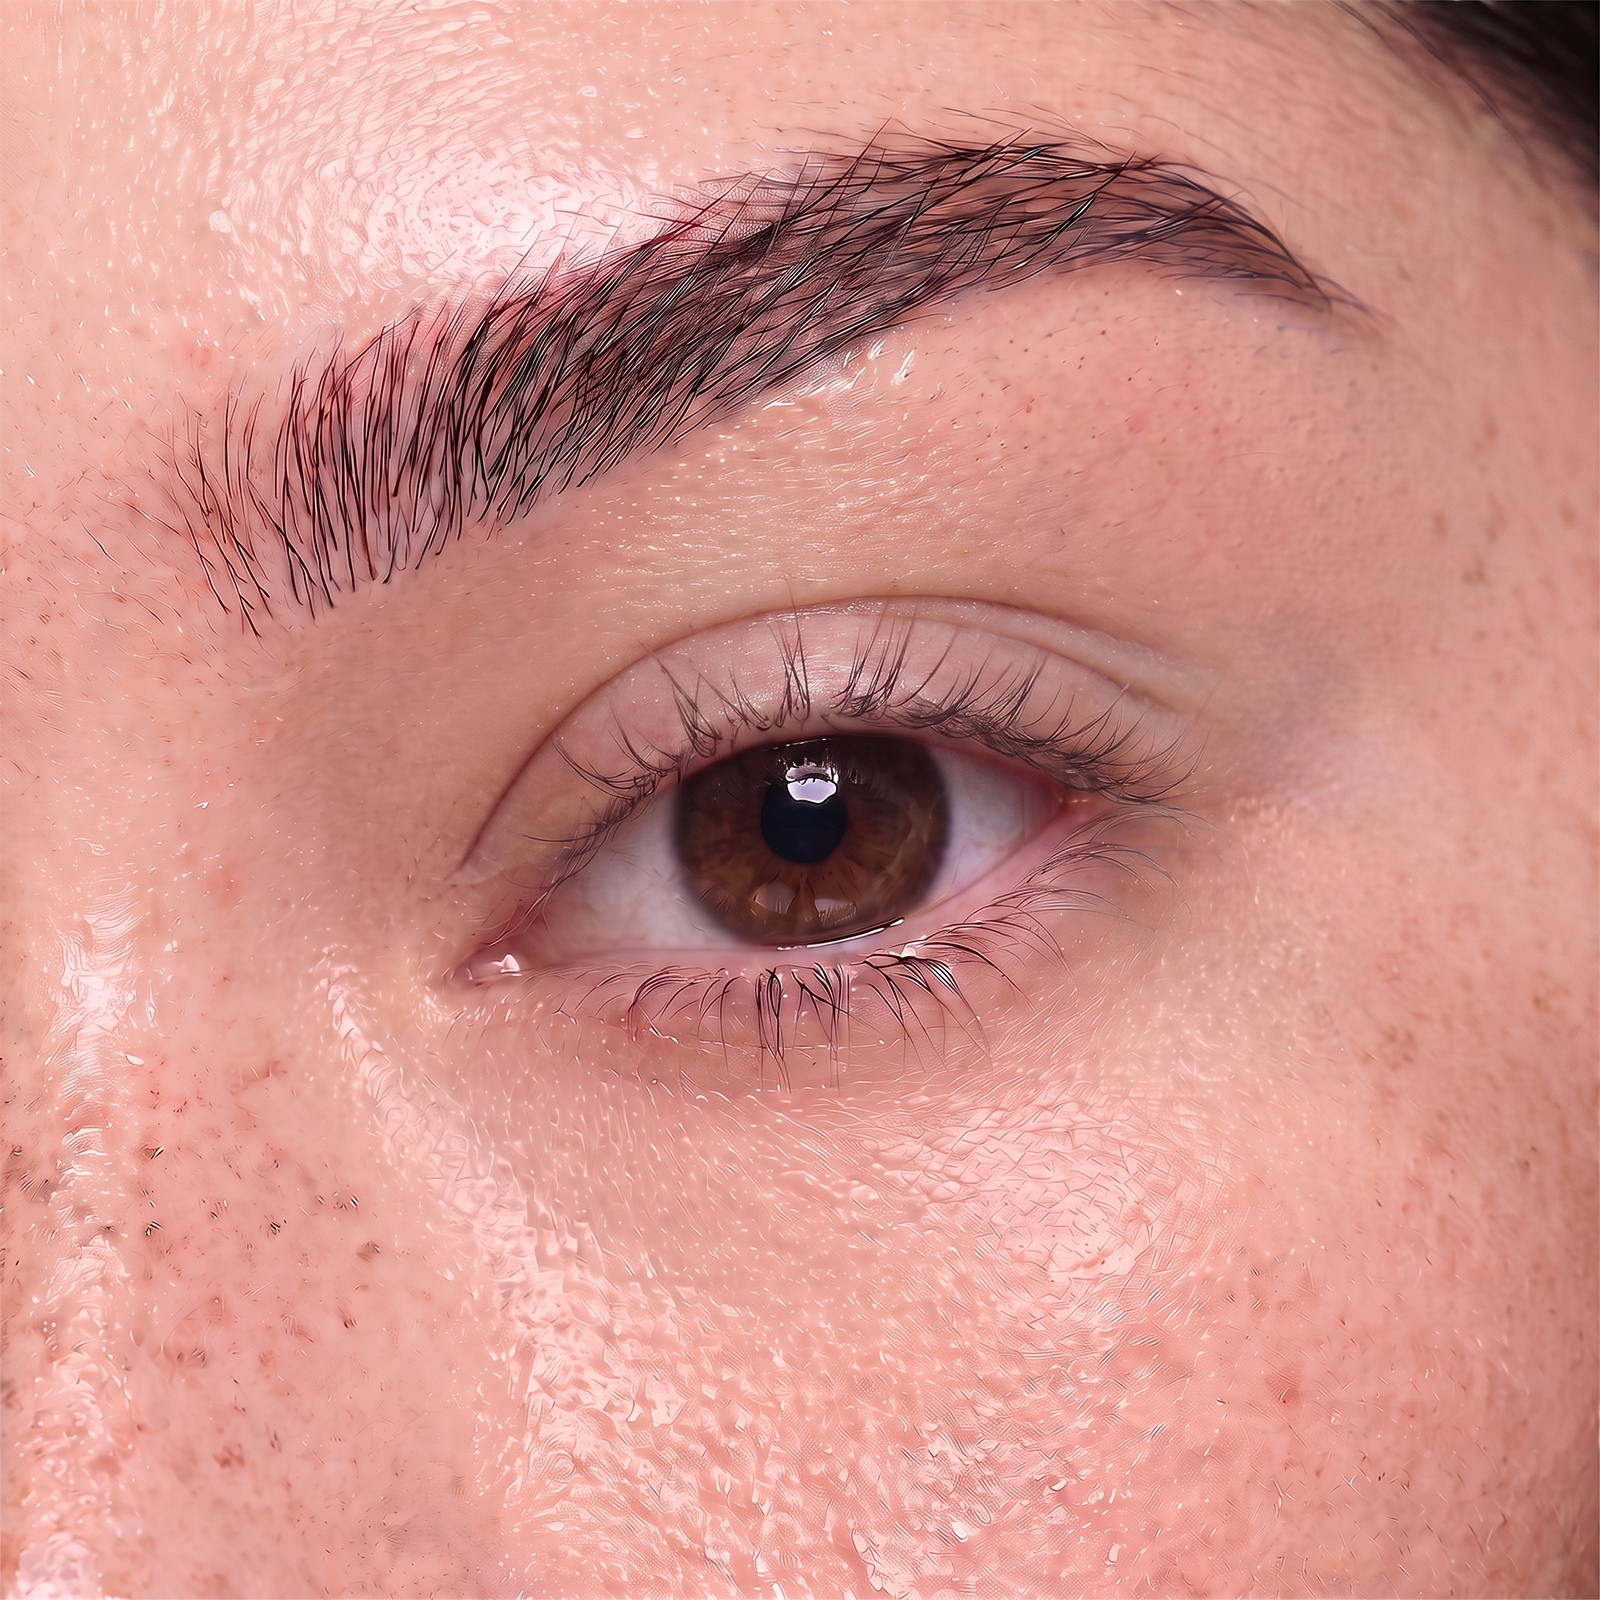
STEP 03
If adhesive remains, apply a little more Remover and wait for around 1 minute before trying again.
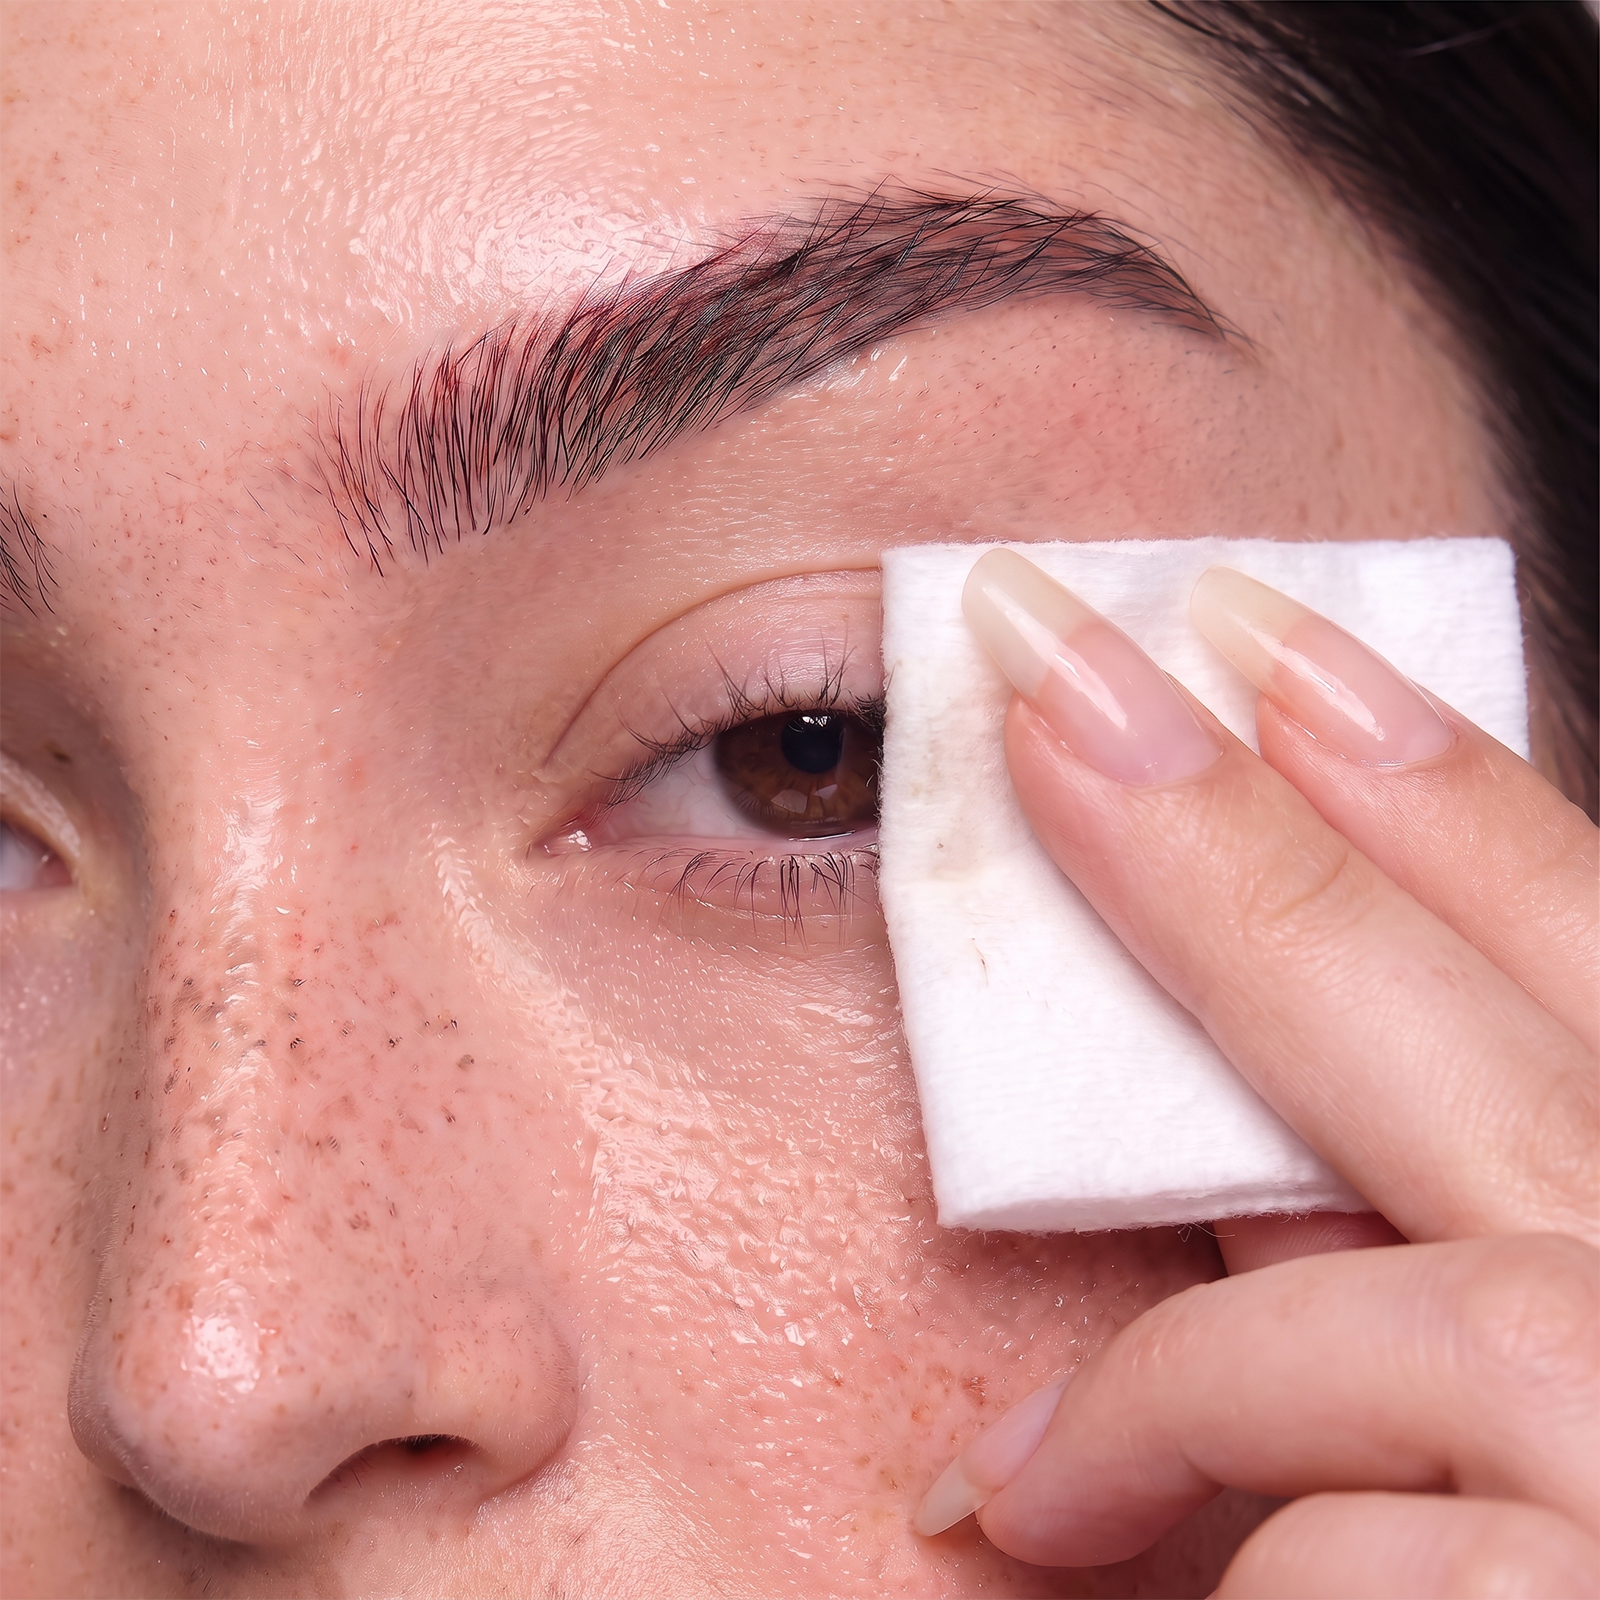
STEP 04
Finish by gently wiping the lash line with a fresh cotton pad until no visible Bond or Remover residue remains.
A little care goes a long way.
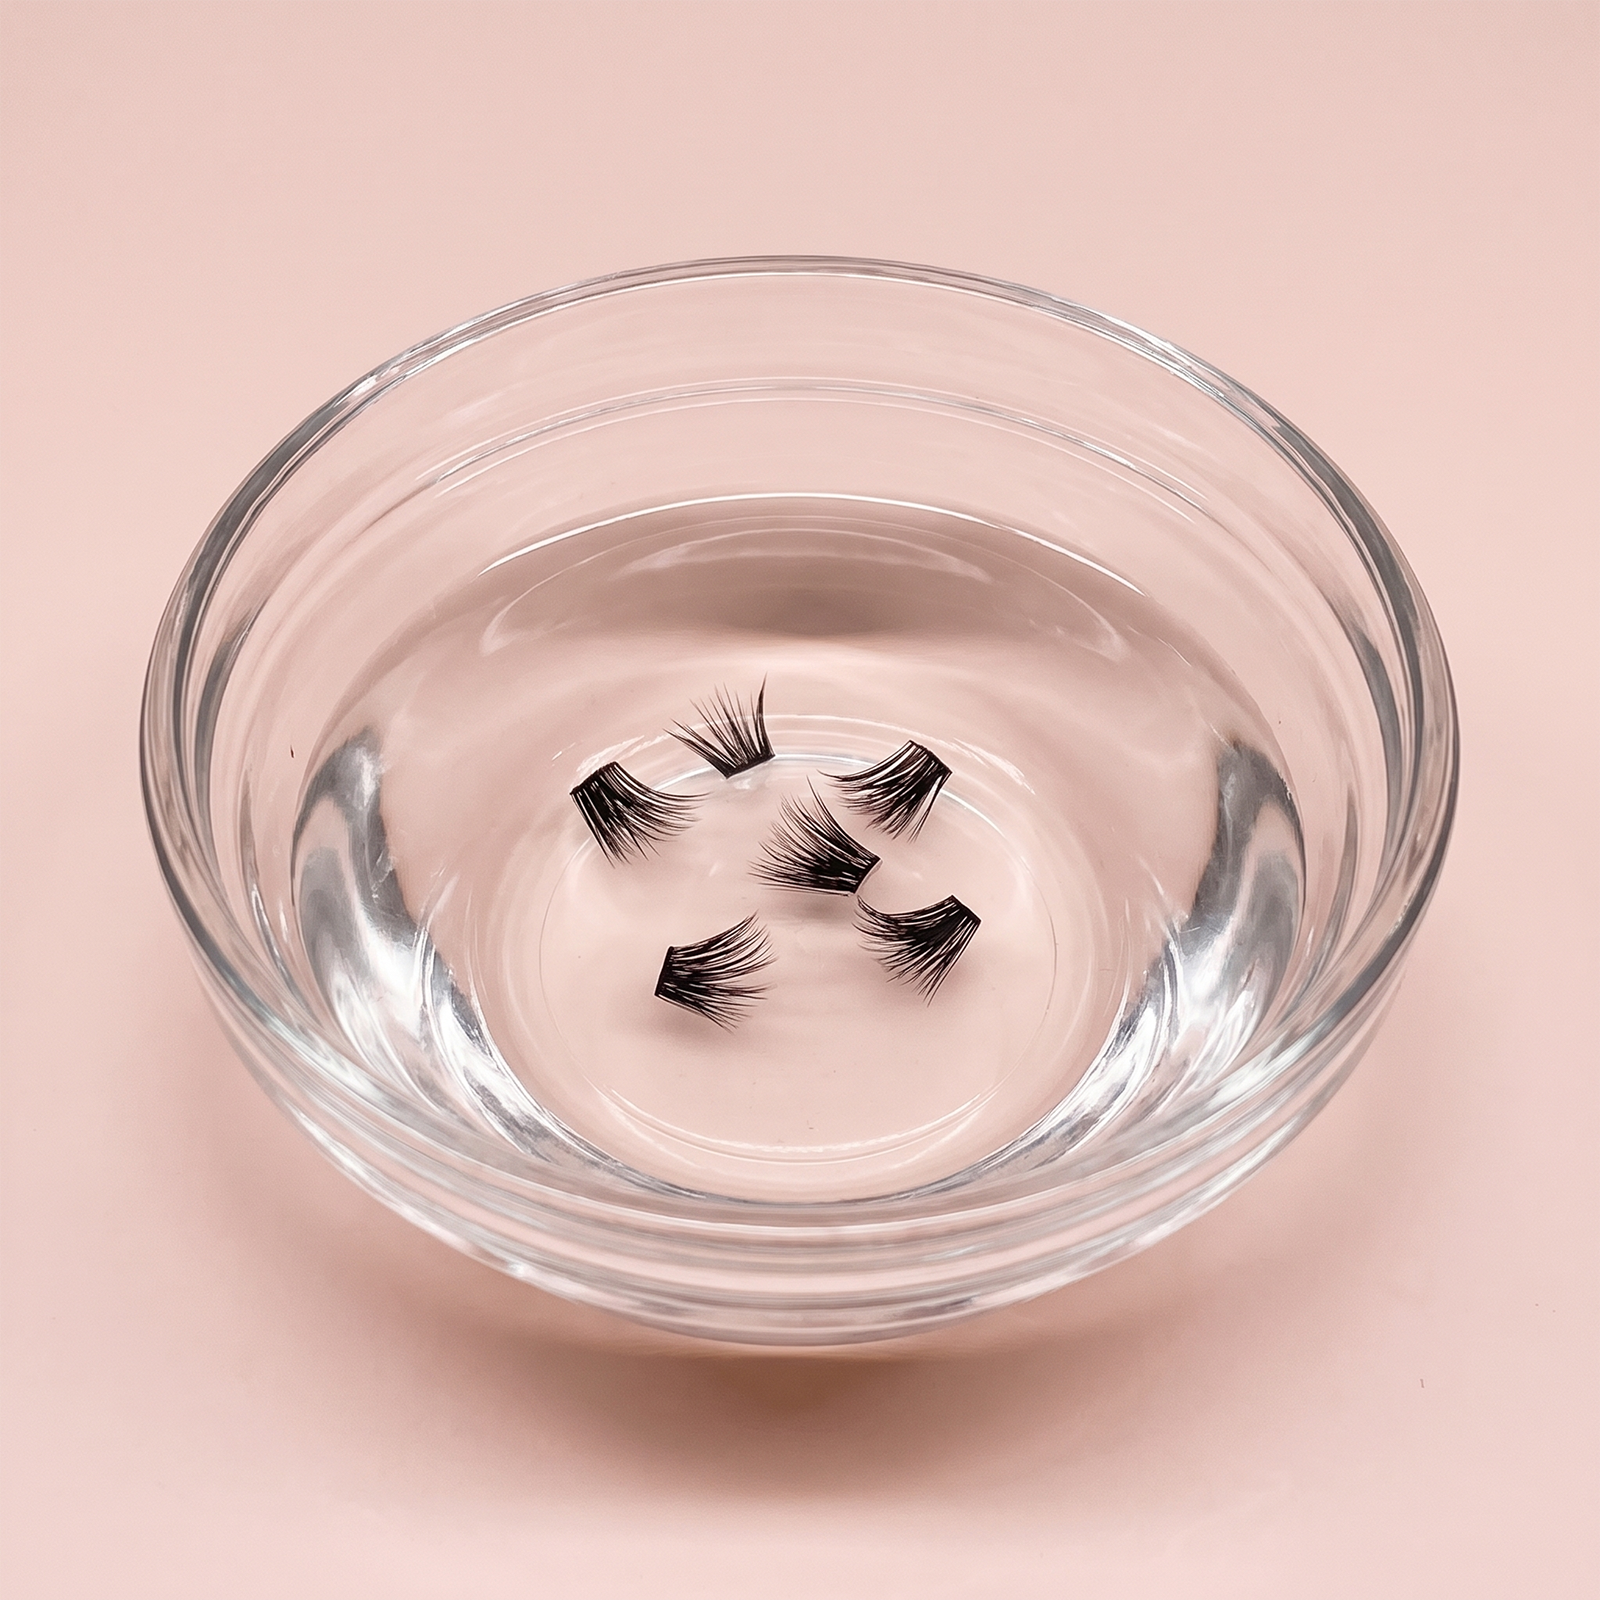
STEP 01
Clean with lash shampoo, soak in micellar water for 2–5 minutes, or dip briefly in 70% alcohol for 5 seconds. Avoid prolonged soaking.
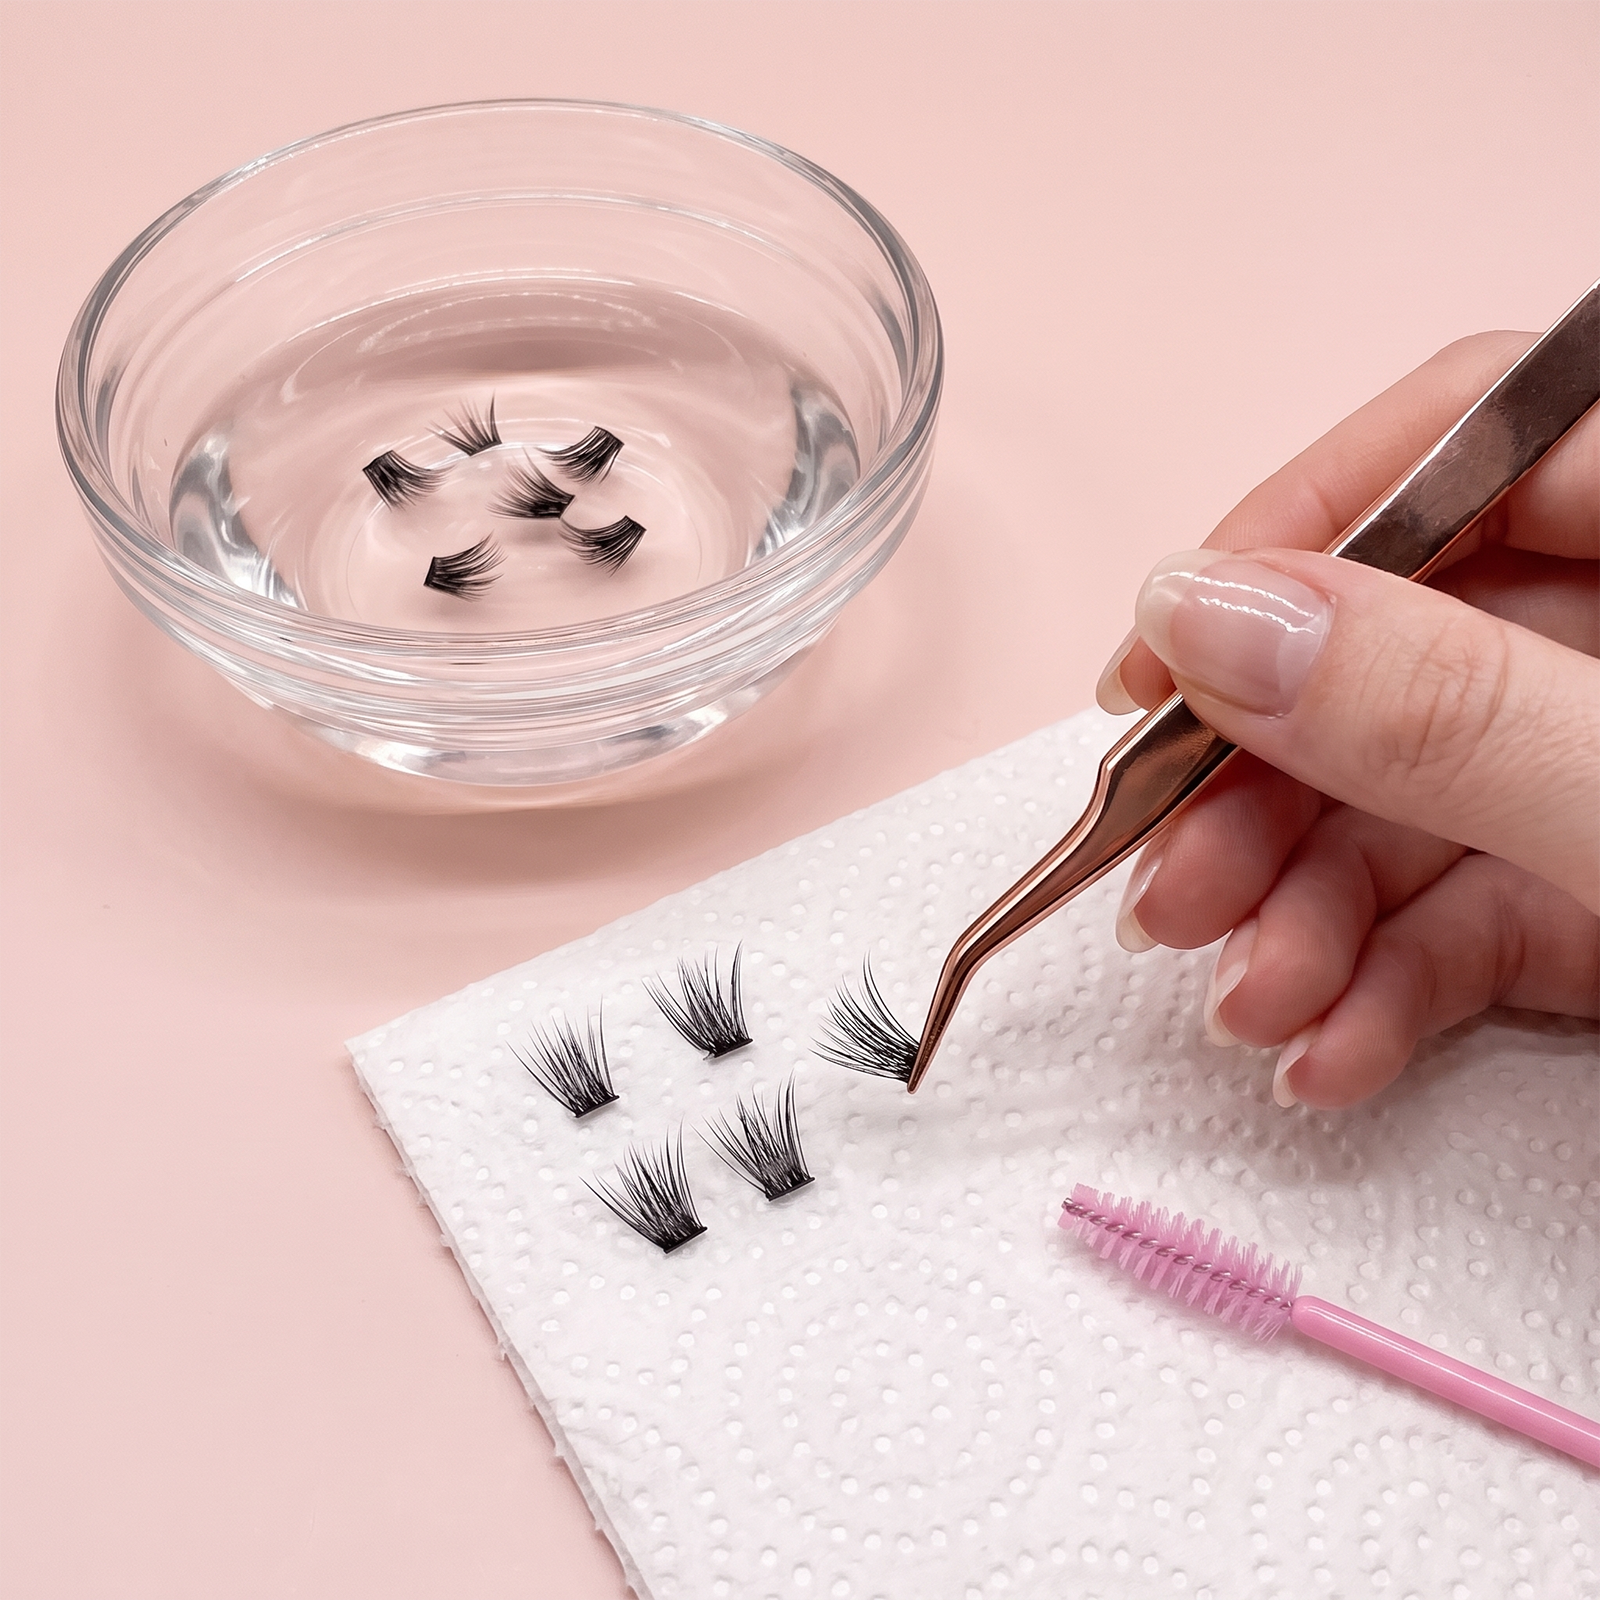
STEP 02
Hold each cluster securely at the base and carefully remove softened adhesive with tweezers. Avoid pulling or twisting the lash fibres.
STEP 03
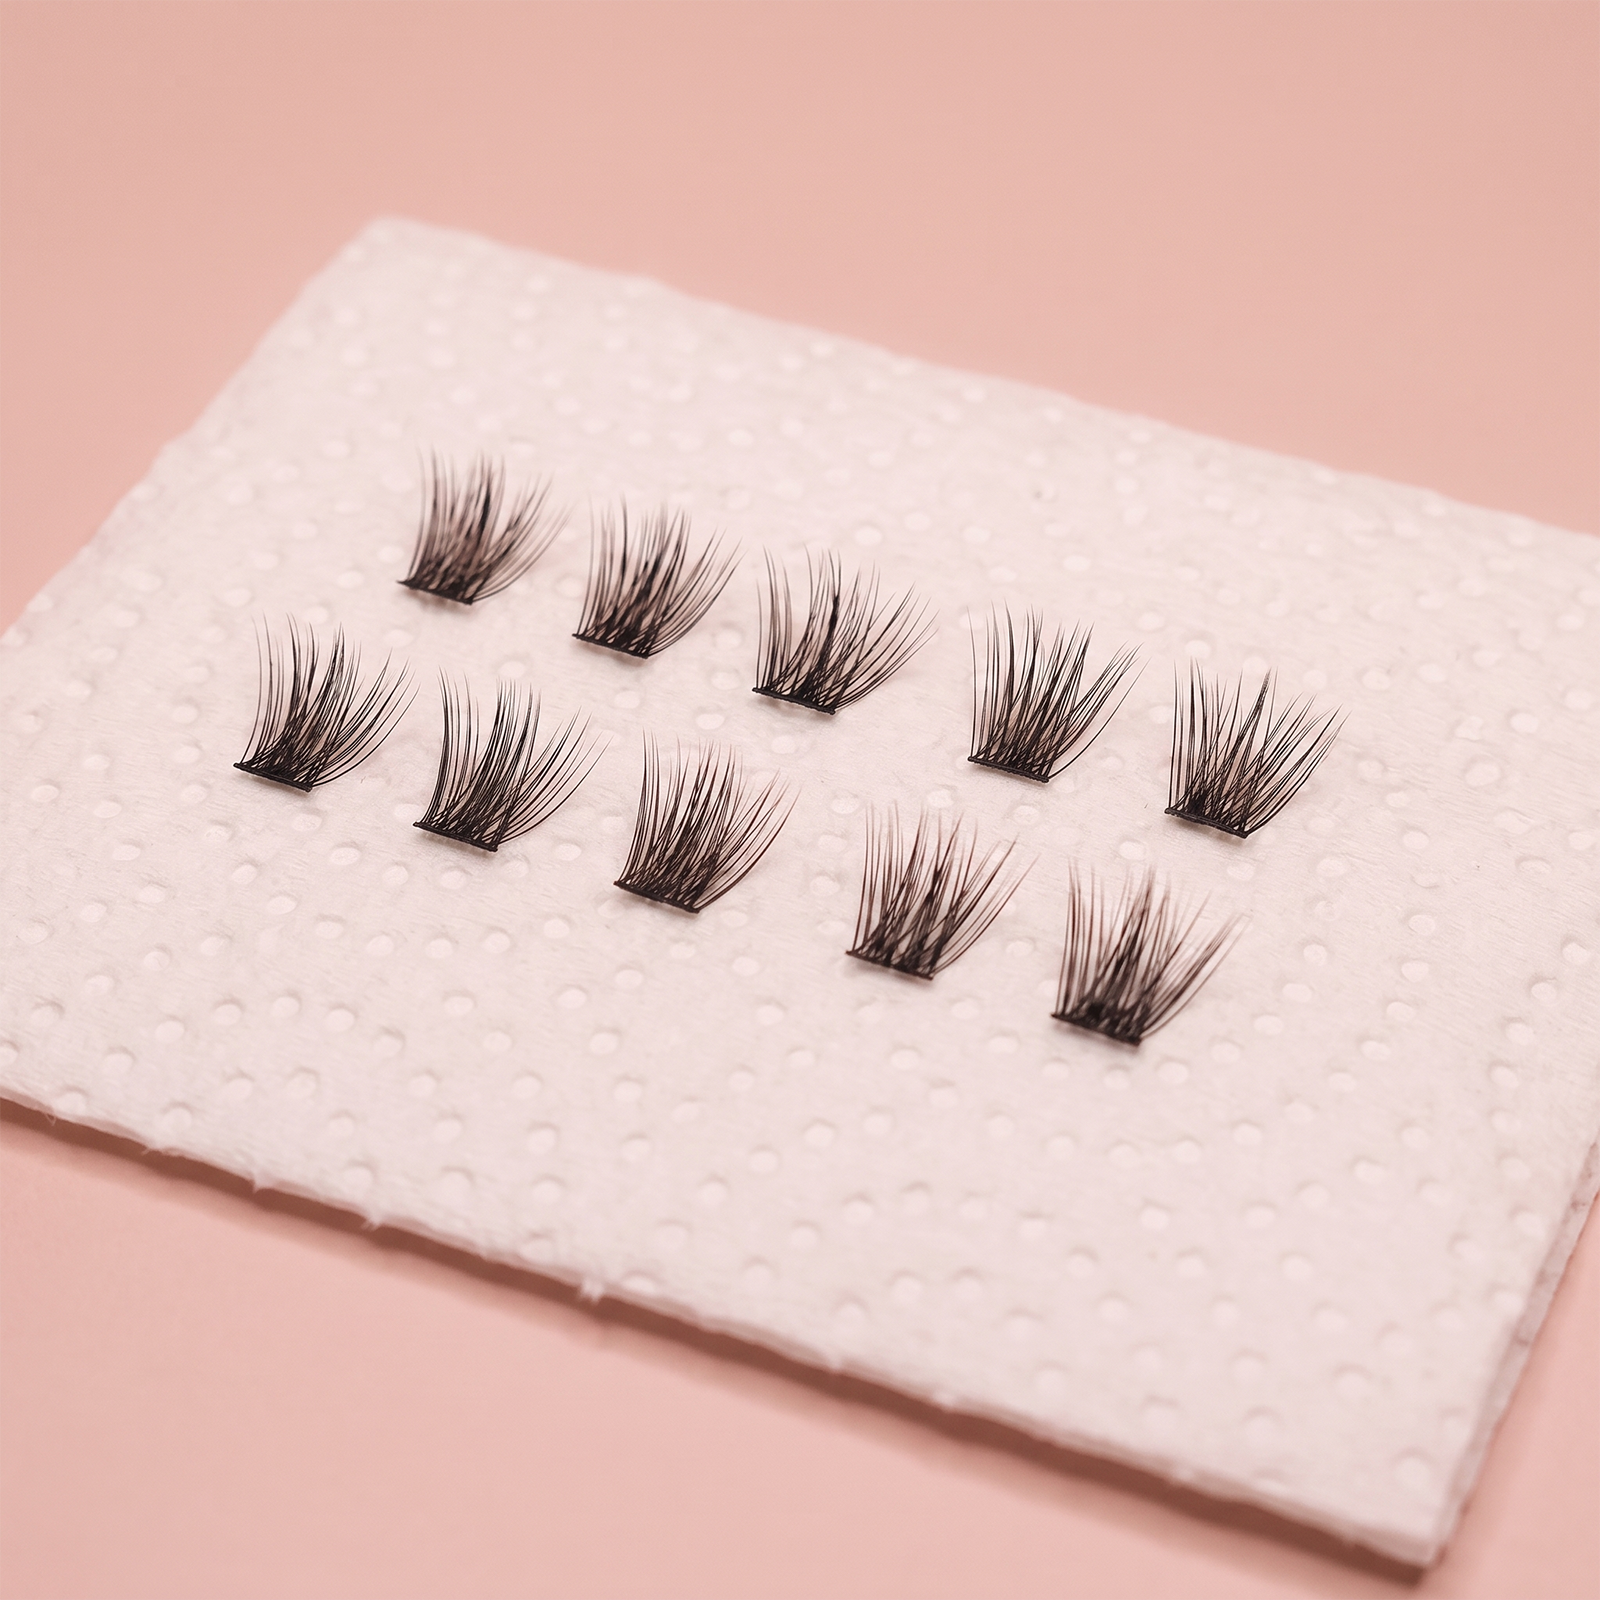
Place the cleaned clusters on a fresh, dry surface and let them air-dry completely. Once fully dry, return them to their case.
LASH QUESTIONS
Place each cluster underneath your natural lashes, slightly above the waterline rather than directly against the skin.
Use only a thin layer of Bond and finish with a light layer of Seal after fusing.
Oil, moisture, excessive Bond and incorrect placement can all affect wear. Always begin with completely clean, dry lashes.
Clusters that remain clean, intact and in shape may be reused with proper care. Replace any cluster that has lost its shape or base integrity.
READY FOR THE FULL RITUAL?
This page gives you the essentials. The full Lash Guide takes you further with lash maps, Bond control, wear notes, troubleshooting, removal and custom-edit guidance.
READY FOR YOUR FIRST EDIT?
NAIL GUIDE
Salon-finish nails, made simple.
NO LAMP NEEDED
Easy, polished nails in four simple steps.
STEP 01
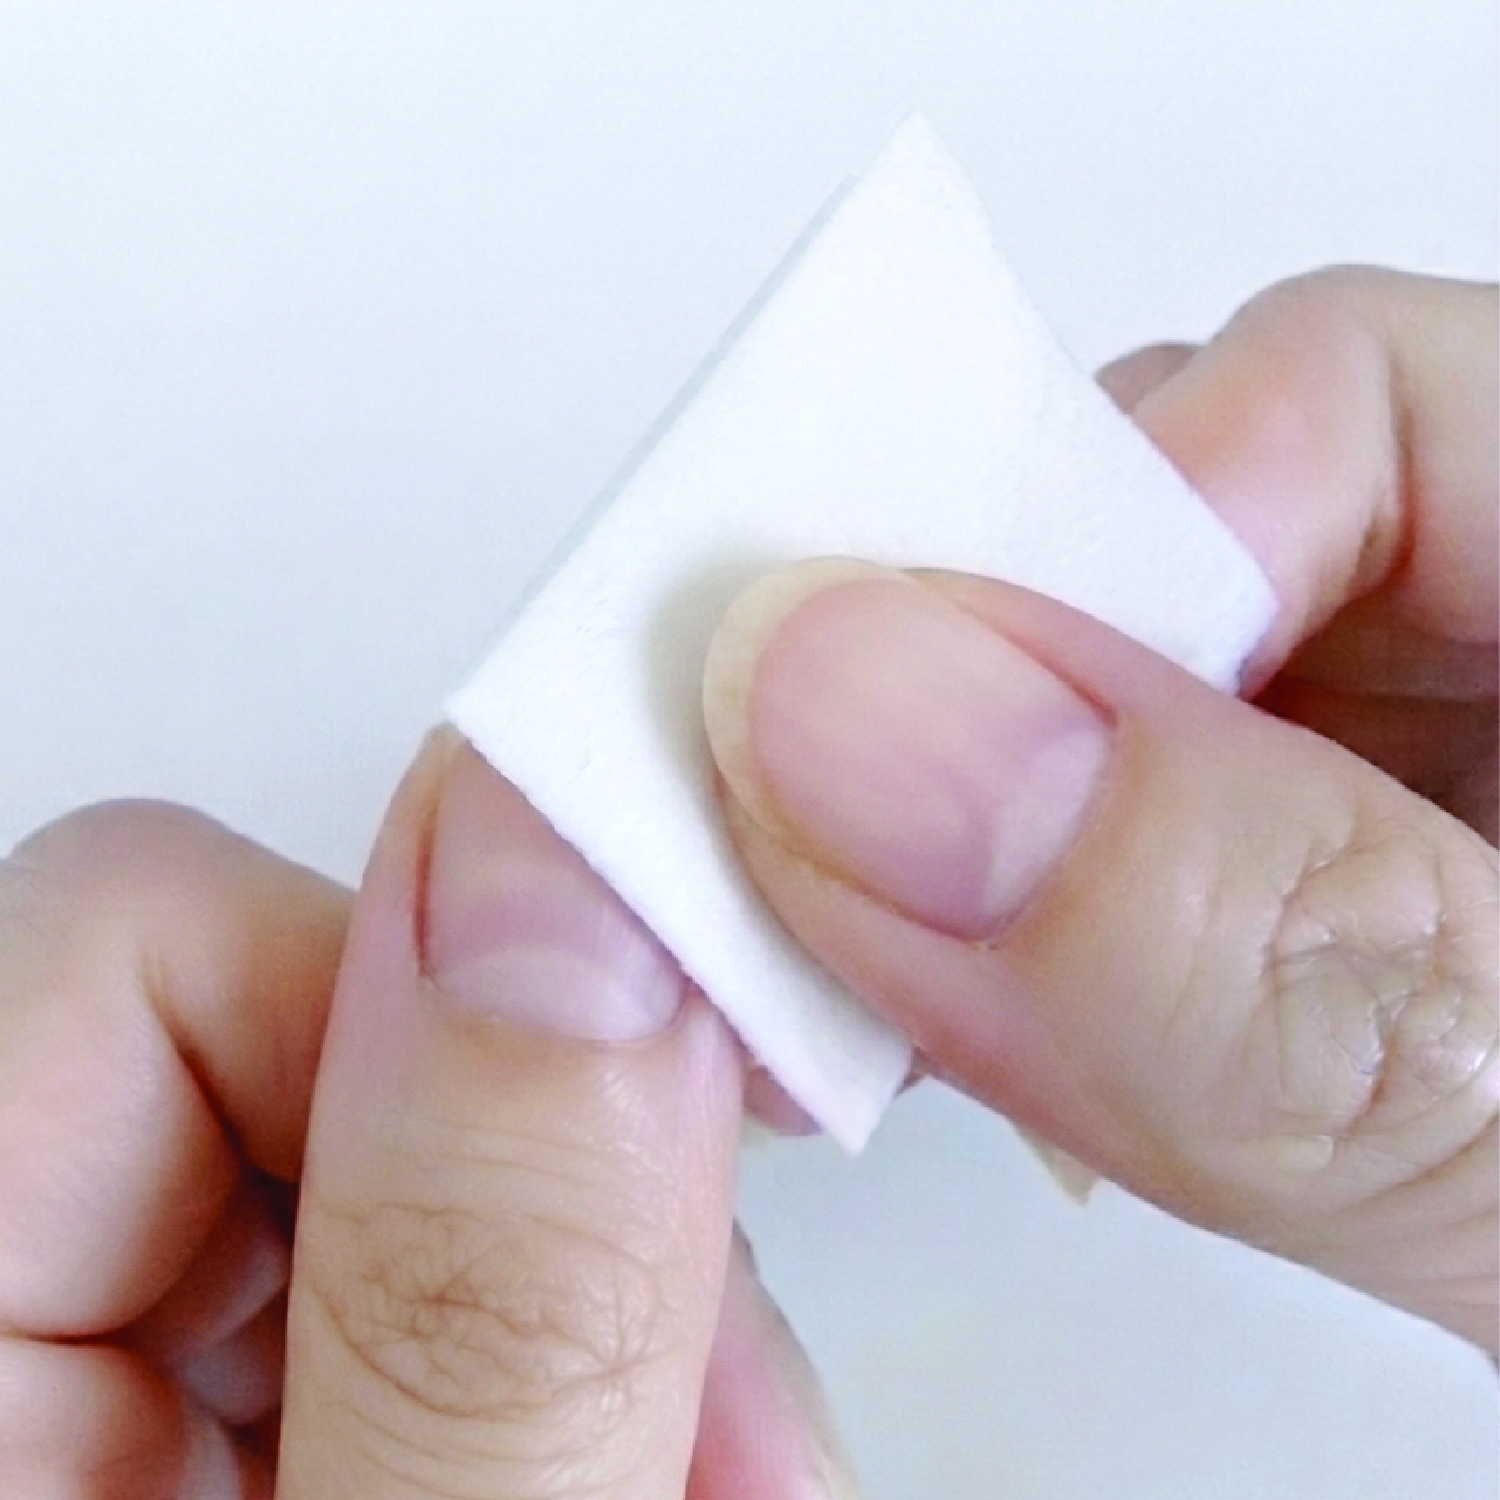
Start with clean, completely dry nails. Remove any oil, lotion or residue from the nail surface before application.
STEP 02
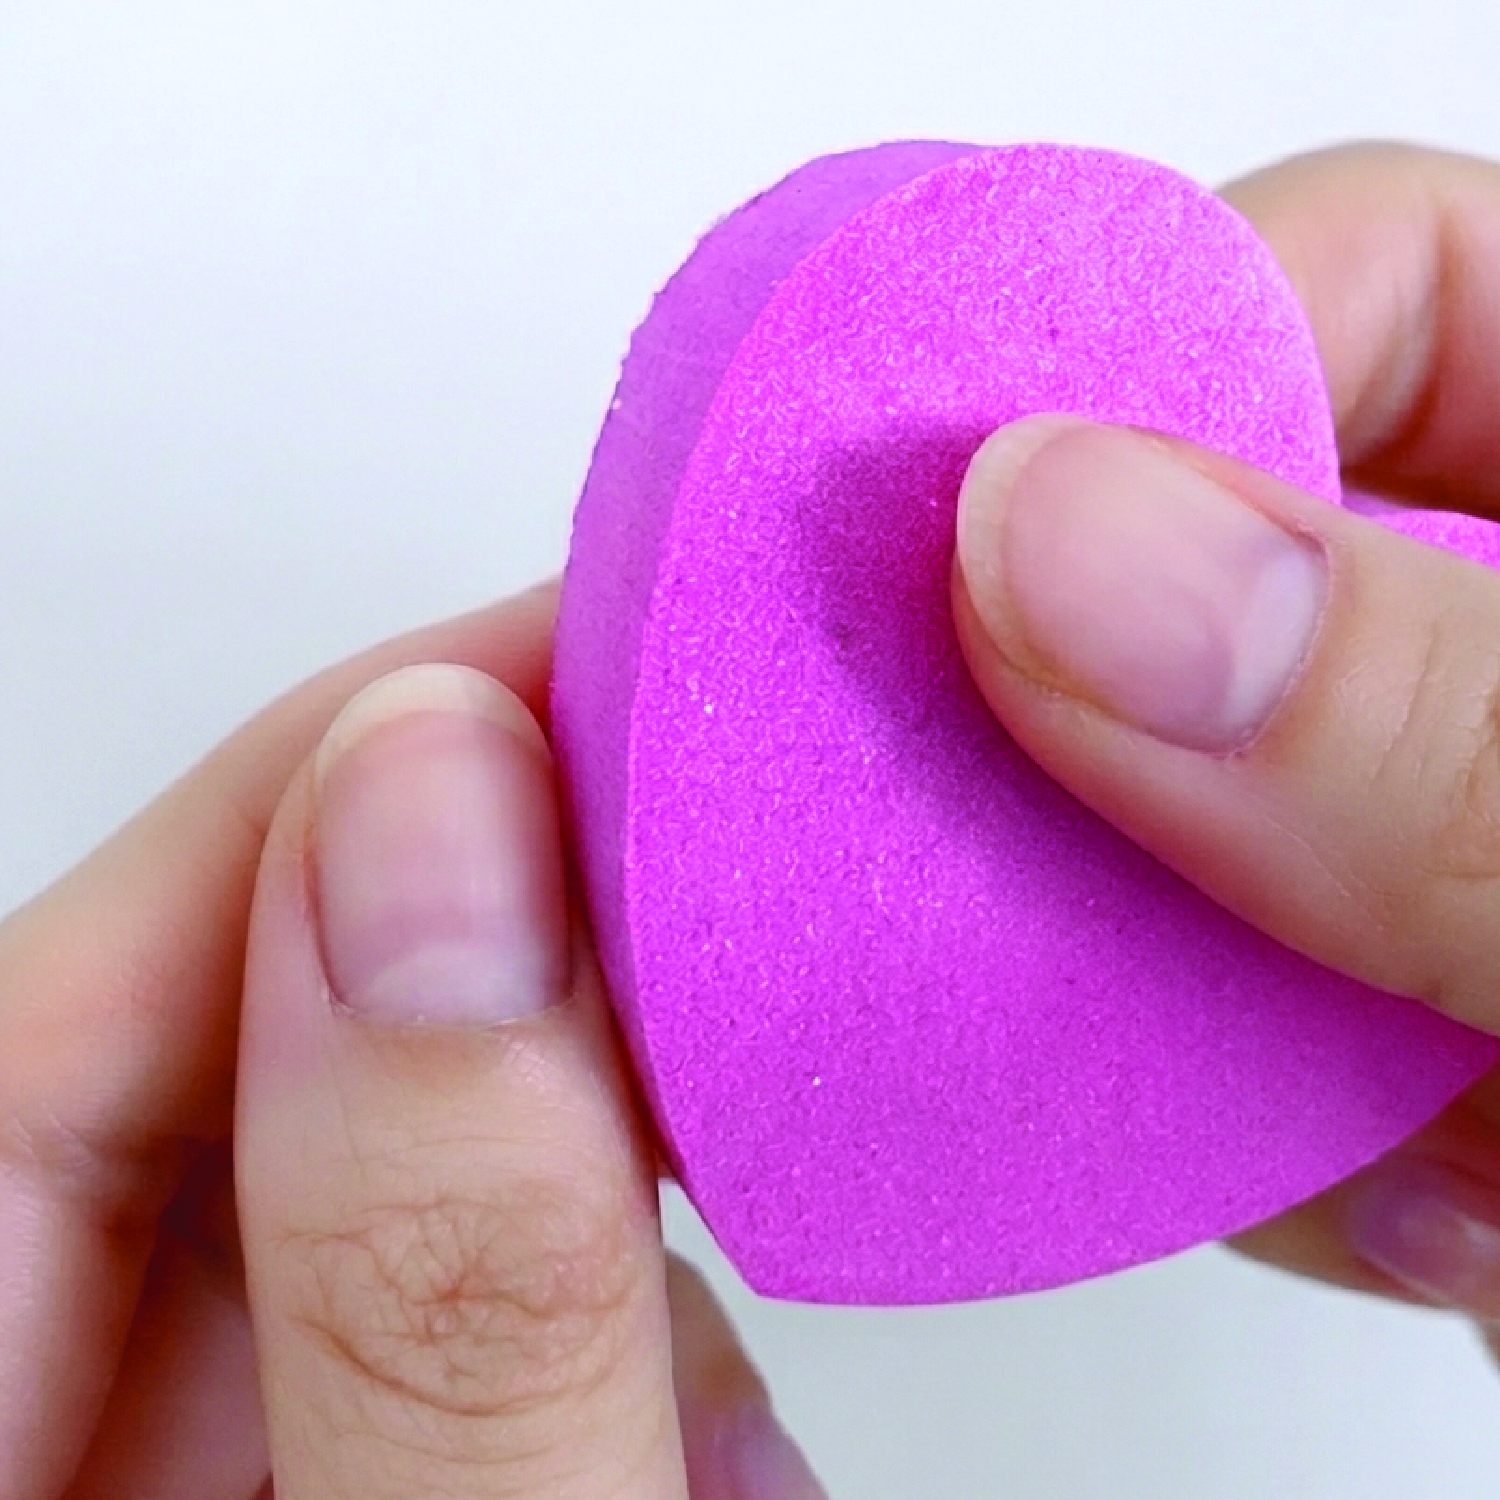
Select a sticker that fits your nail while staying slightly narrower than the natural nail surface.
STEP 03
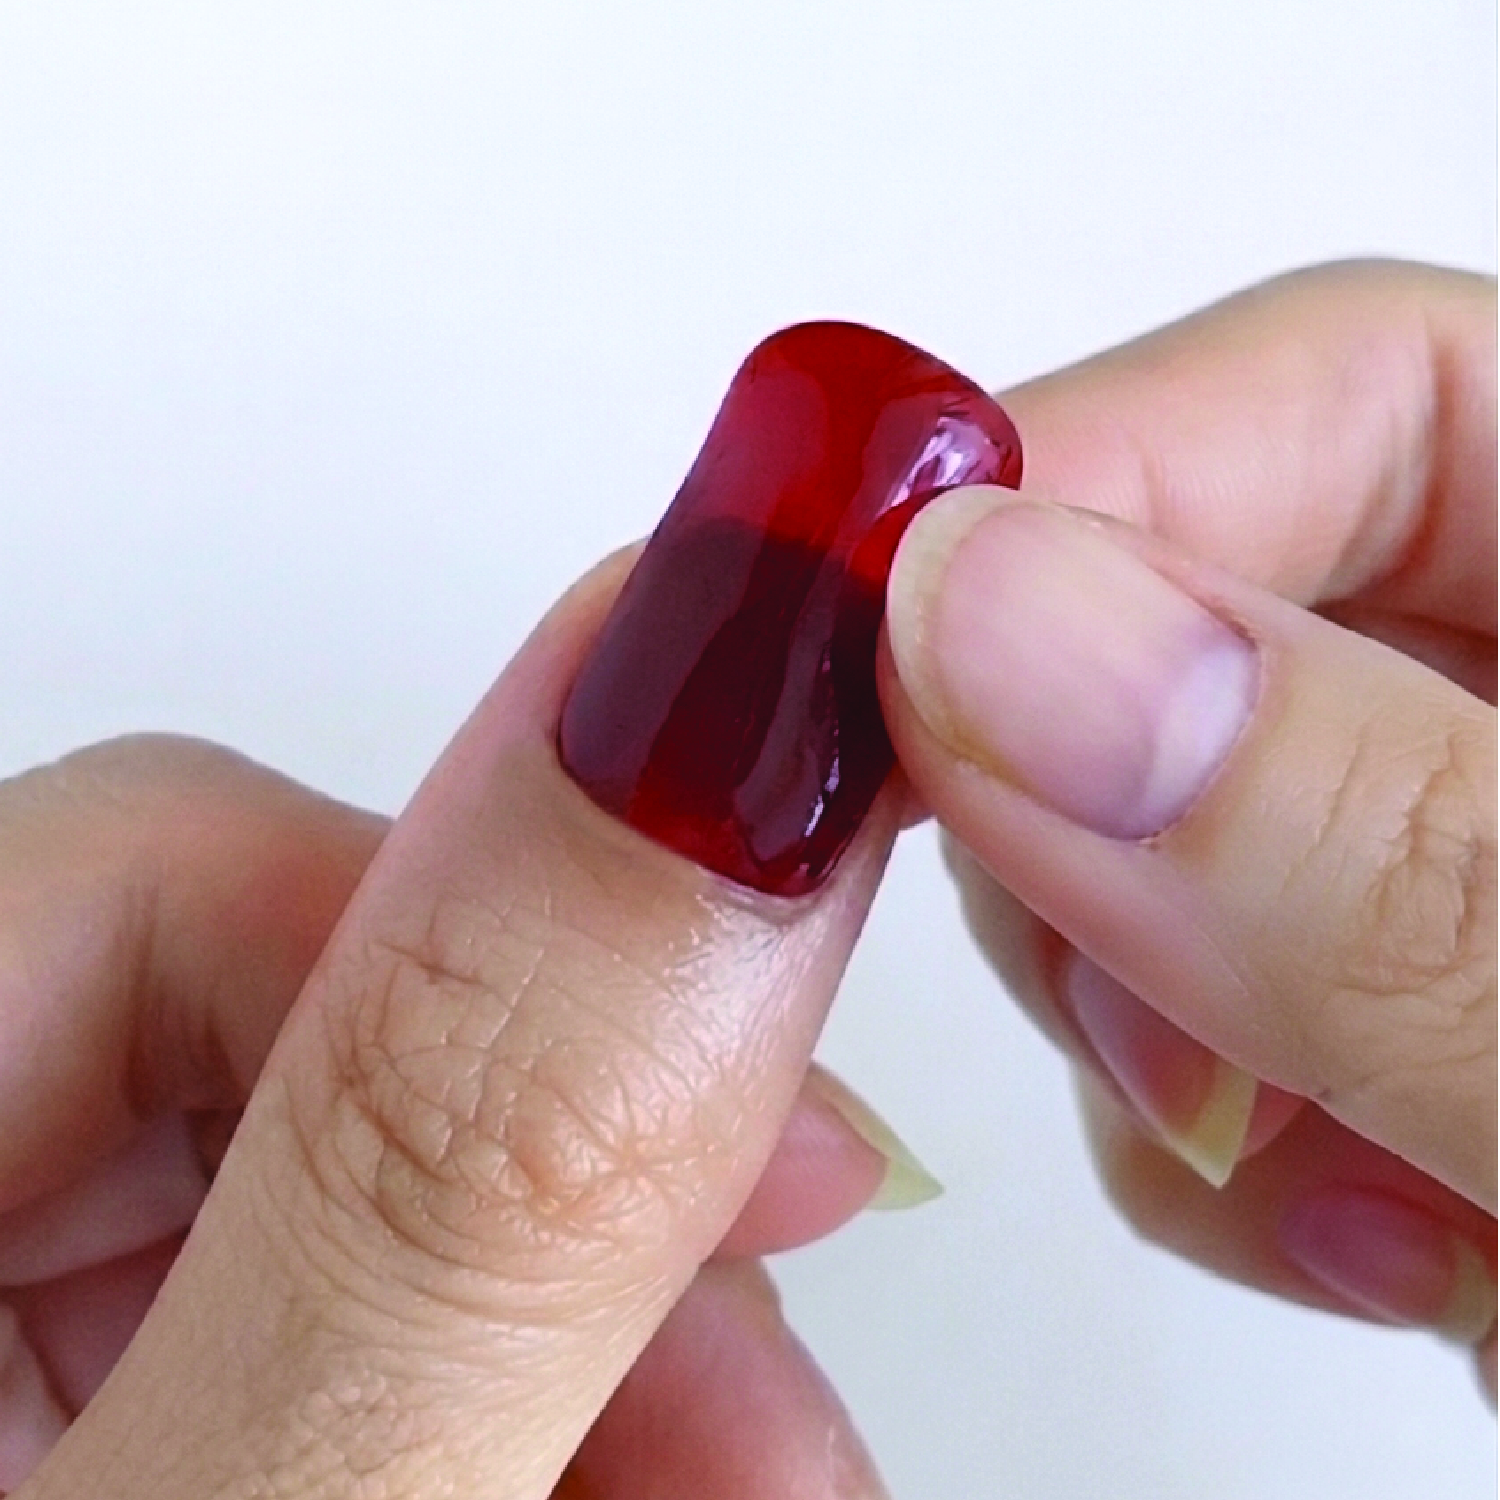
Place the sticker just above the cuticle. Smooth firmly from the centre toward the edges for a clean, even finish.
STEP 04
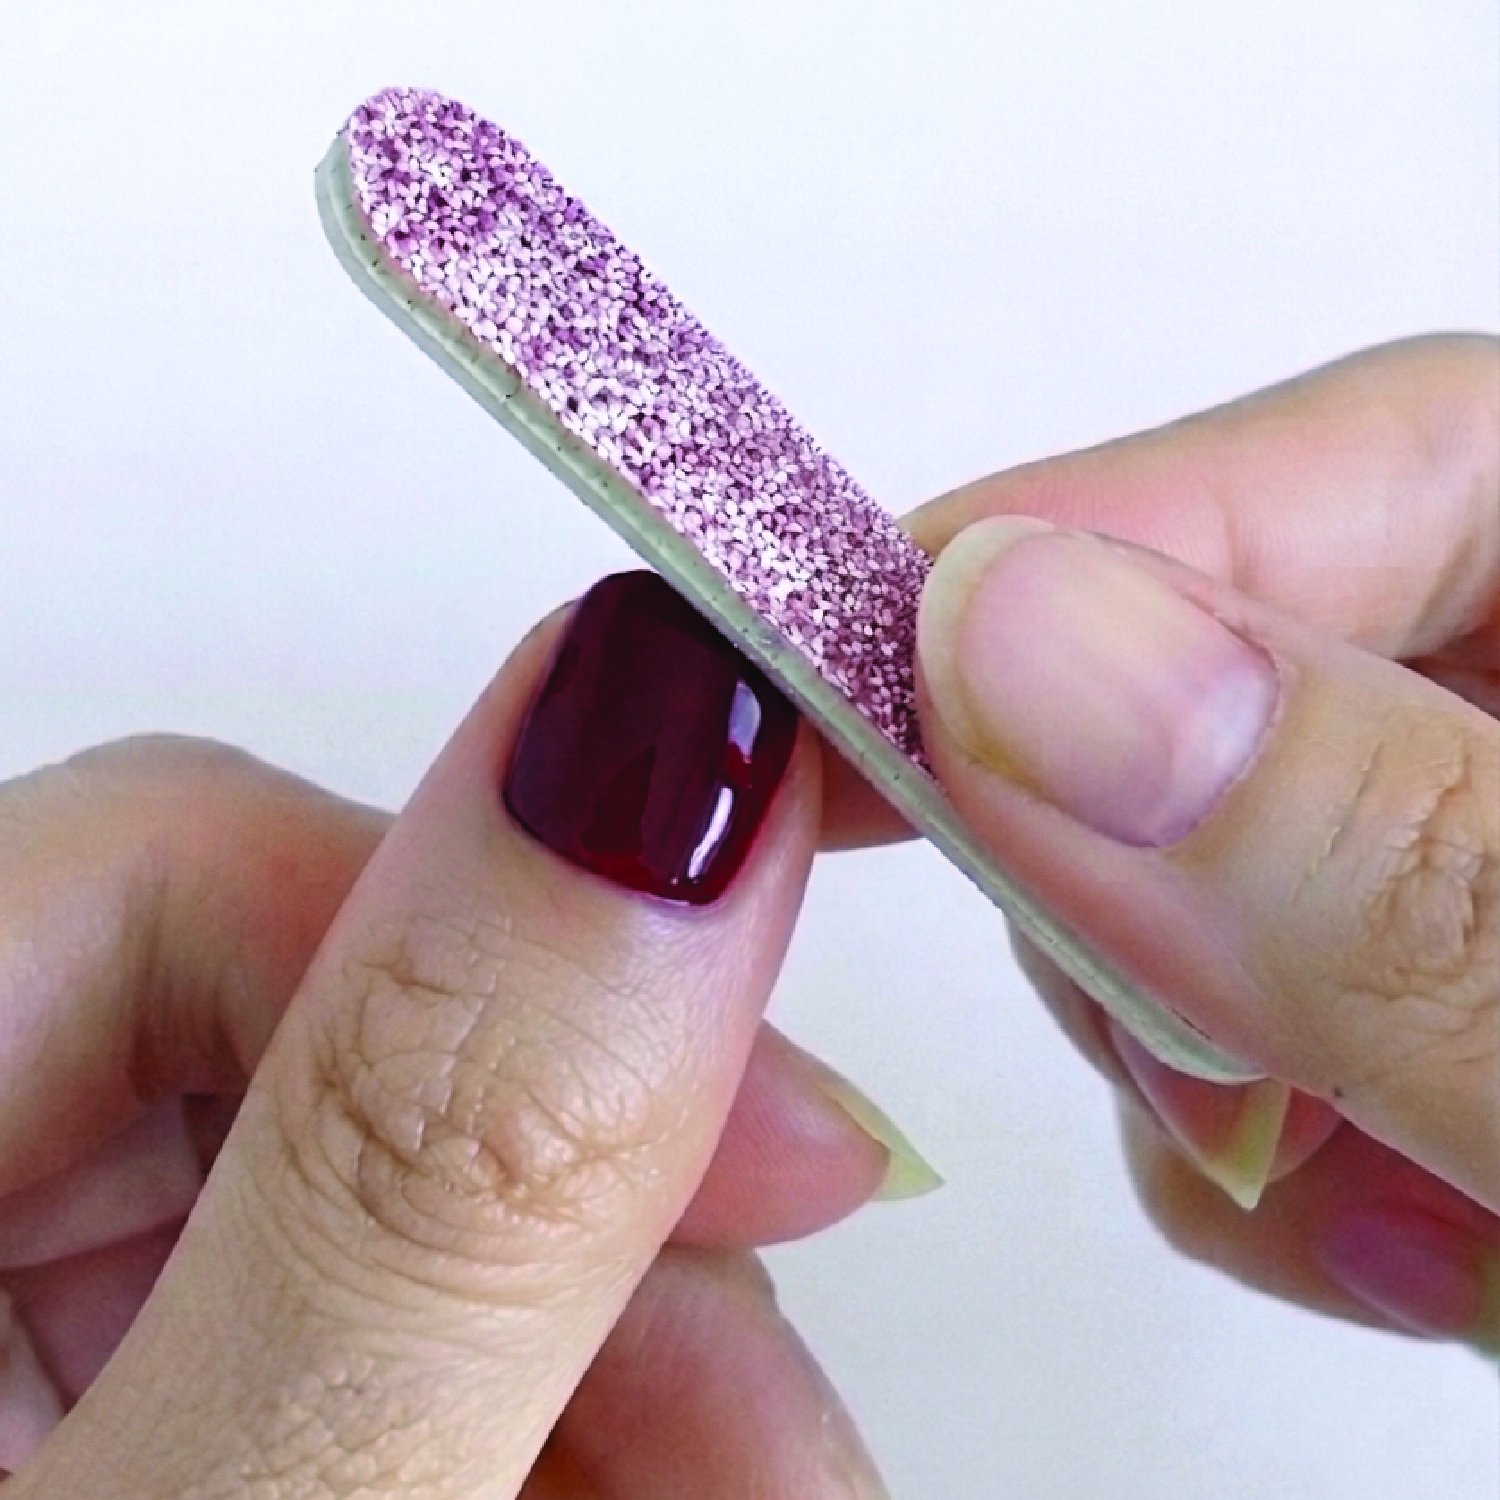
Fold the excess gently over the nail edge and file downward until the extra sticker separates cleanly.
UV GEL SYSTEM
A salon-style gel finish, made simple at home.
STEP 01
Clean and dry your nails thoroughly. Remove any oil, moisture or residue before application.
STEP 02
Choose a gel strip that fits your nail while staying slightly narrower than the natural nail surface.
STEP 03
Place the gel strip just above the cuticle. Press firmly from the centre toward the edges until smooth.
STEP 04
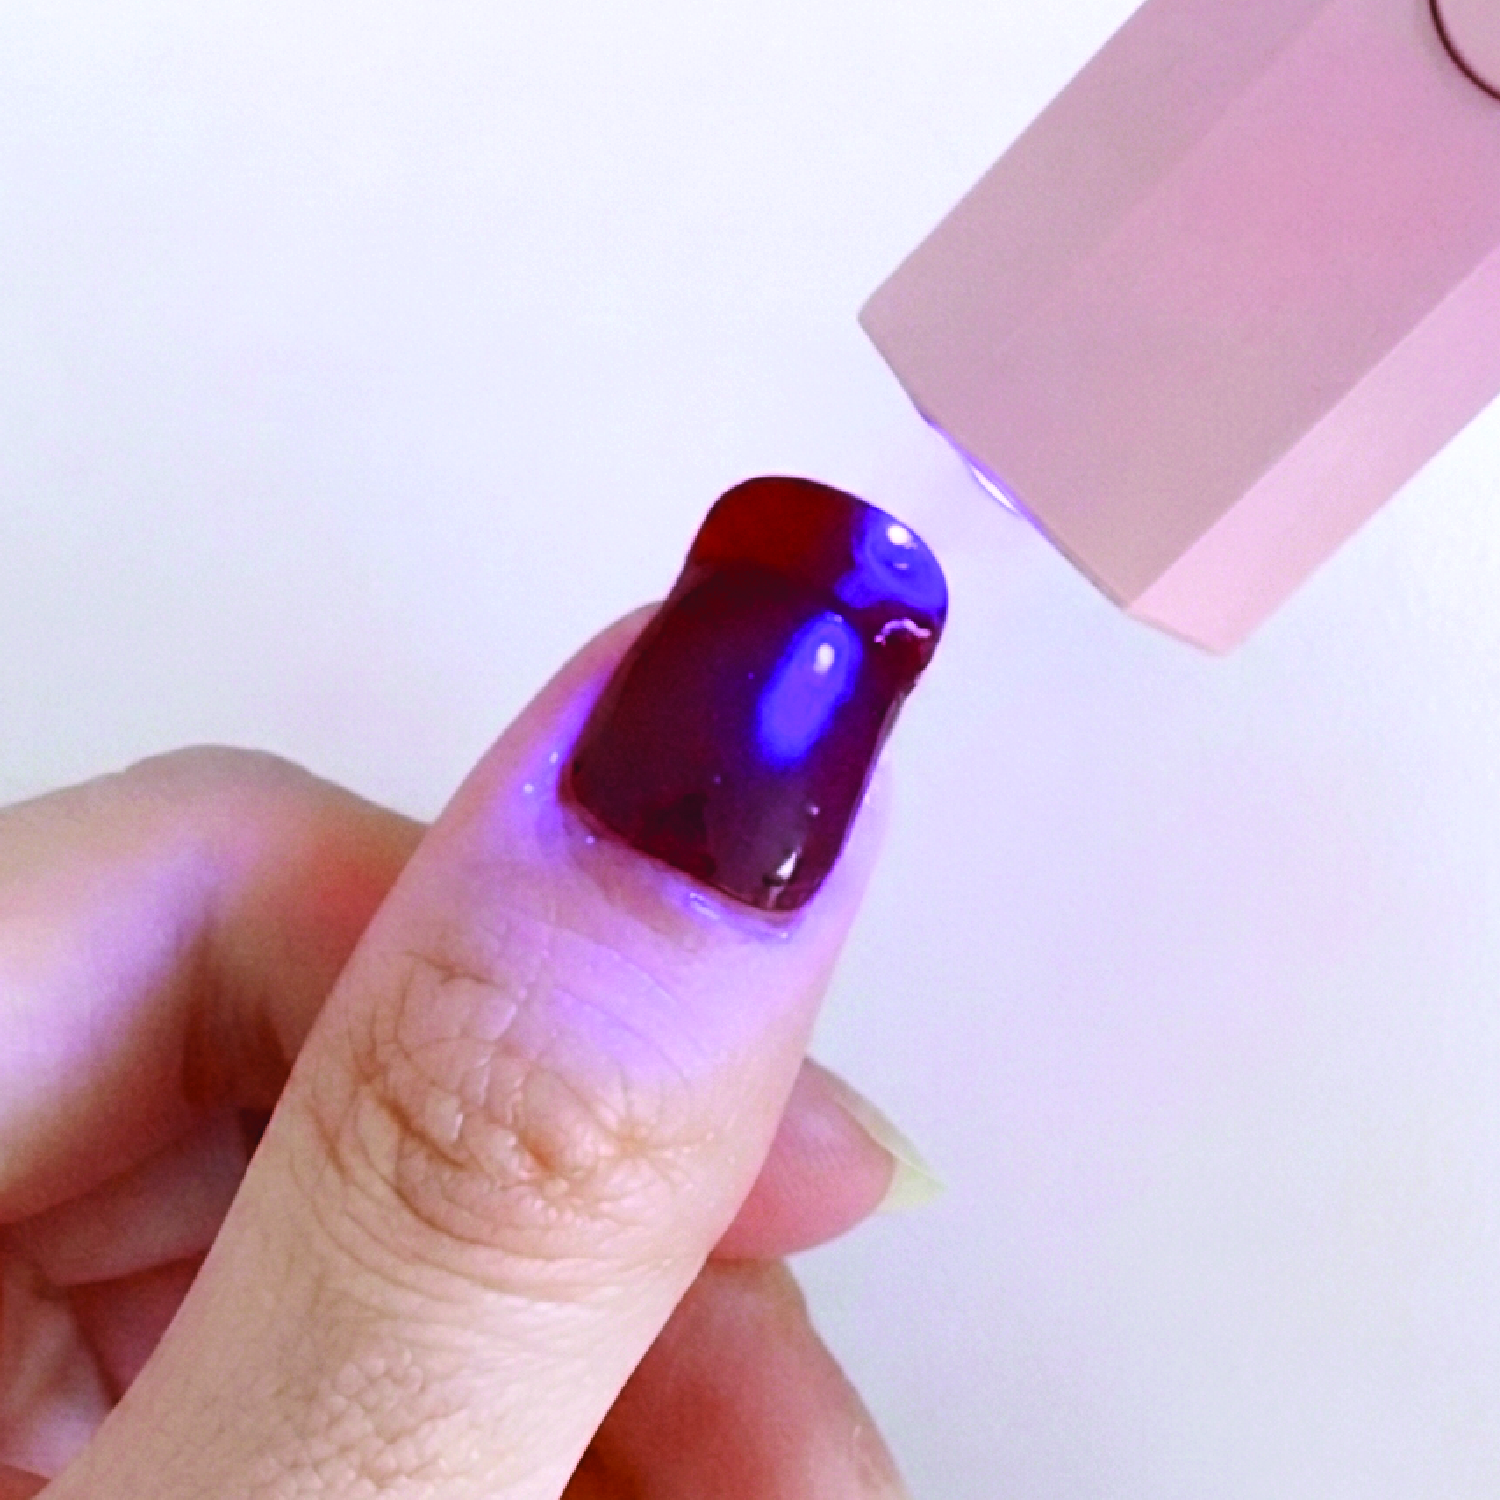
Cure the gel strip under your UV lamp for the recommended curing time until fully set.
STEP 05
File away the excess gently to refine the edge and complete your gel manicure.
Use the pink side of the nail file, not the glitter side.
TOUCHED SEOUL
Find your next lash or nail look.
Thoughtfully made, beautifully yours.
Vegan, cruelty-free and skin-friendly.
Rated 4.9/5 by our lovely community.
Free shipping over £45, dispatched with care.